Azure
Frame supports Entra joined devices Early Access on Azure for both Windows 10/11 and Windows Server 2019/2022 operating systems in non-persistent and persistent desktop Frame Accounts.
Prerequisites
- Bring Your Own (BYO) Azure subscription
- Entra ID Tenant
- New or existing Windows 10/11 or Windows Server 2019/2022 non-persistent or persistent desktop Frame Account
Setup
Navigate to the non-persistent or persistent desktop Frame Account Dashboard within your AHV cluster in Frame Console.
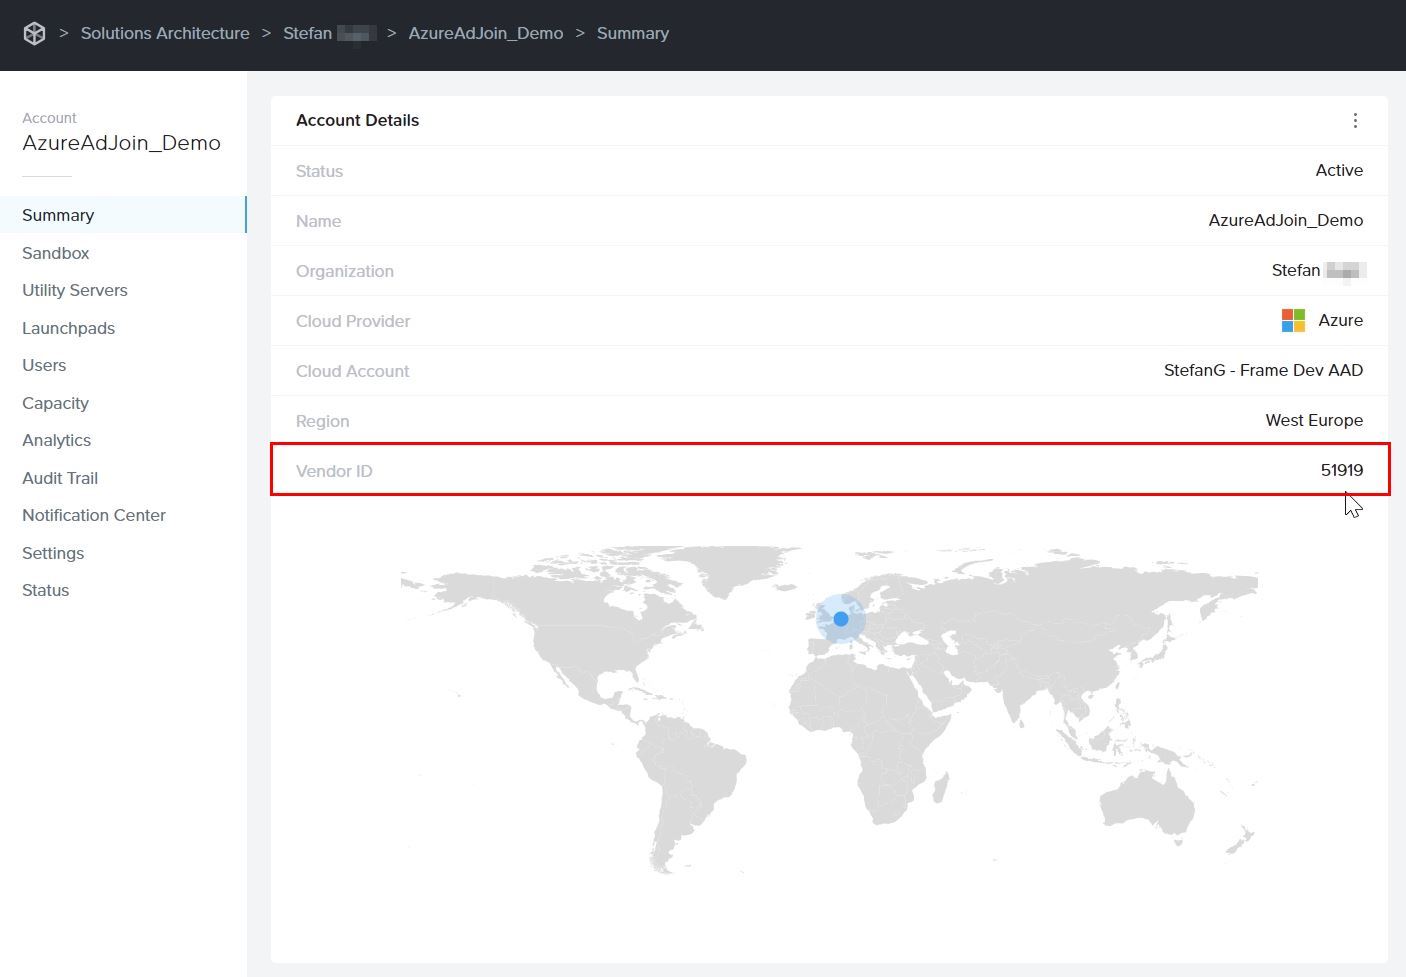
On the Summary page, you can locate the Vendor ID of your Frame Account. That number will be part of the Azure Resource Group (RG) name that is visible in the Azure Portal.
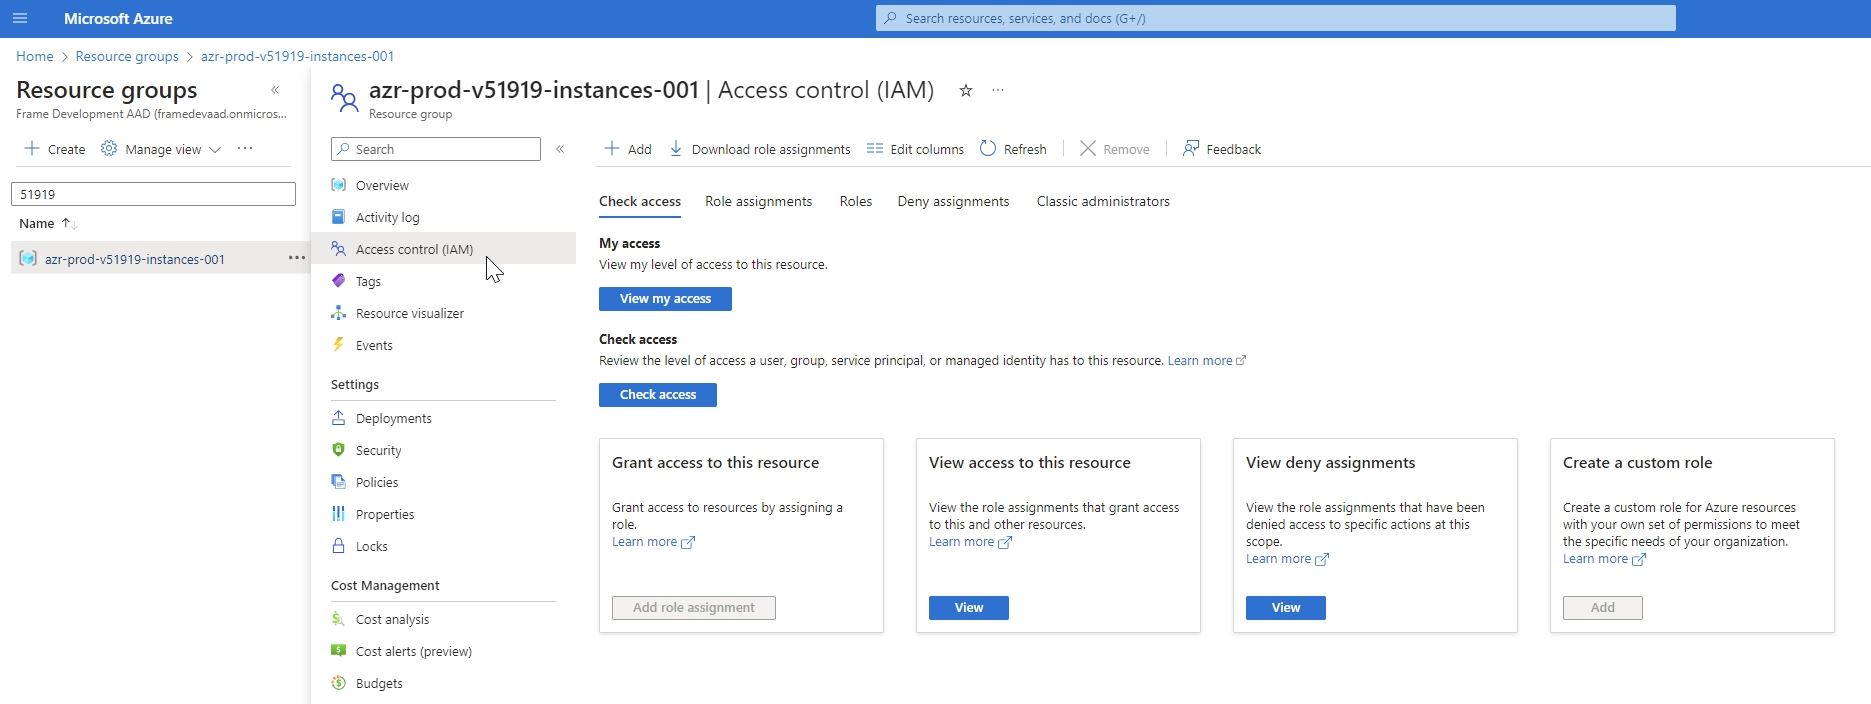
Next, navigate to your Azure Portal. Locate that resource group, go to Access Control (IAM), and grant access by assigning the Azure “Virtual Machine Administrator Login” or “Virtual Machine User Login” role to the user(s) or group of users for whom you want to provide administrator or user access to VMs. Details are further explained in official Microsoft documentation. You can also choose to set up role-based access control (RBAC) at the Azure subscription level so all the permissions are inherited down to RGs. Then, when new Frame Accounts are created, you will not need to manually assign the role to the newly created resource group.
 note
noteThe Azure "Virtual Machine Administrator Login" role refers to the login credentials and privileges granted to an individual who has administrative control and authority over virtual machines, allowing them to manage and configure various aspects of virtual machine environments.
The Azure "Virtual Machine User Login" role pertains to the login credentials and permissions given to a user who can access and utilize virtual machines within a virtualized environment, typically with limited administrative capabilities, focusing more on regular usage and application-specific tasks within the virtual machine.
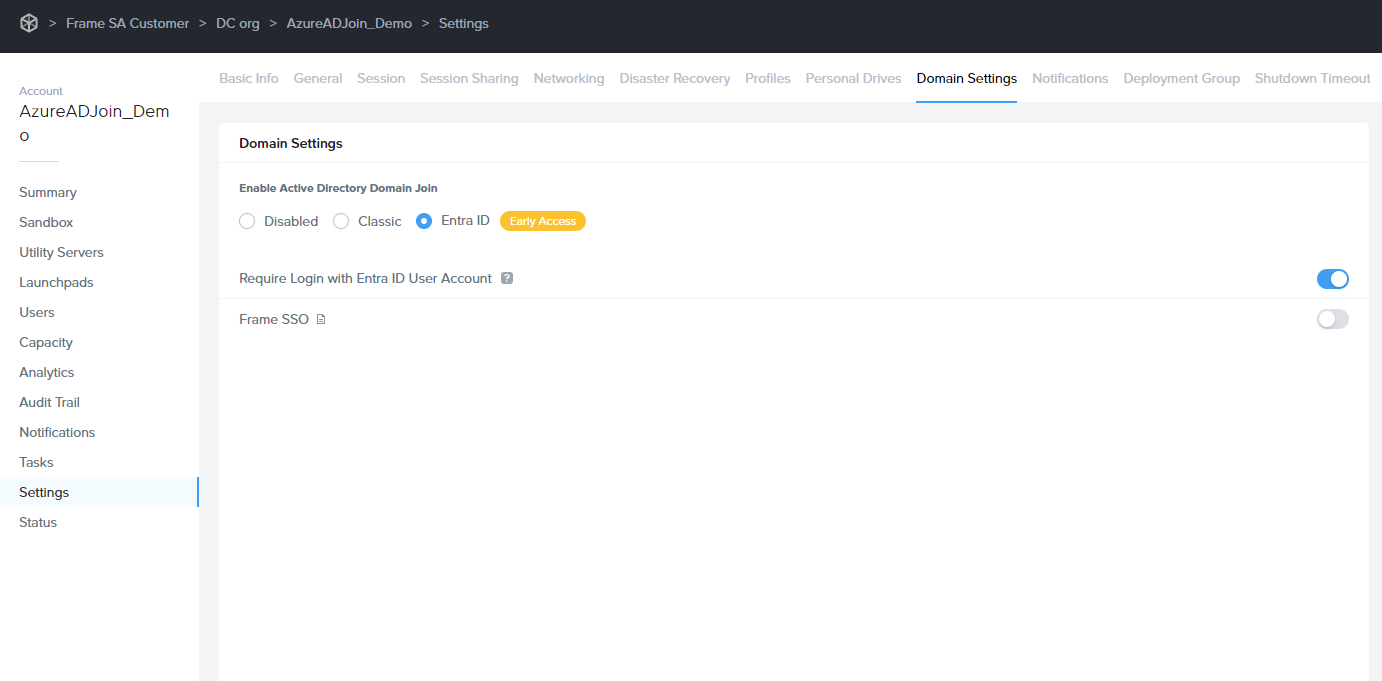
In the Frame Console, navigate to the Settings page, click on Domain Settings and select Entra ID. Then, click the Save button.
 note
noteThe Entra joined device feature requires users to login with their Entra ID user account.
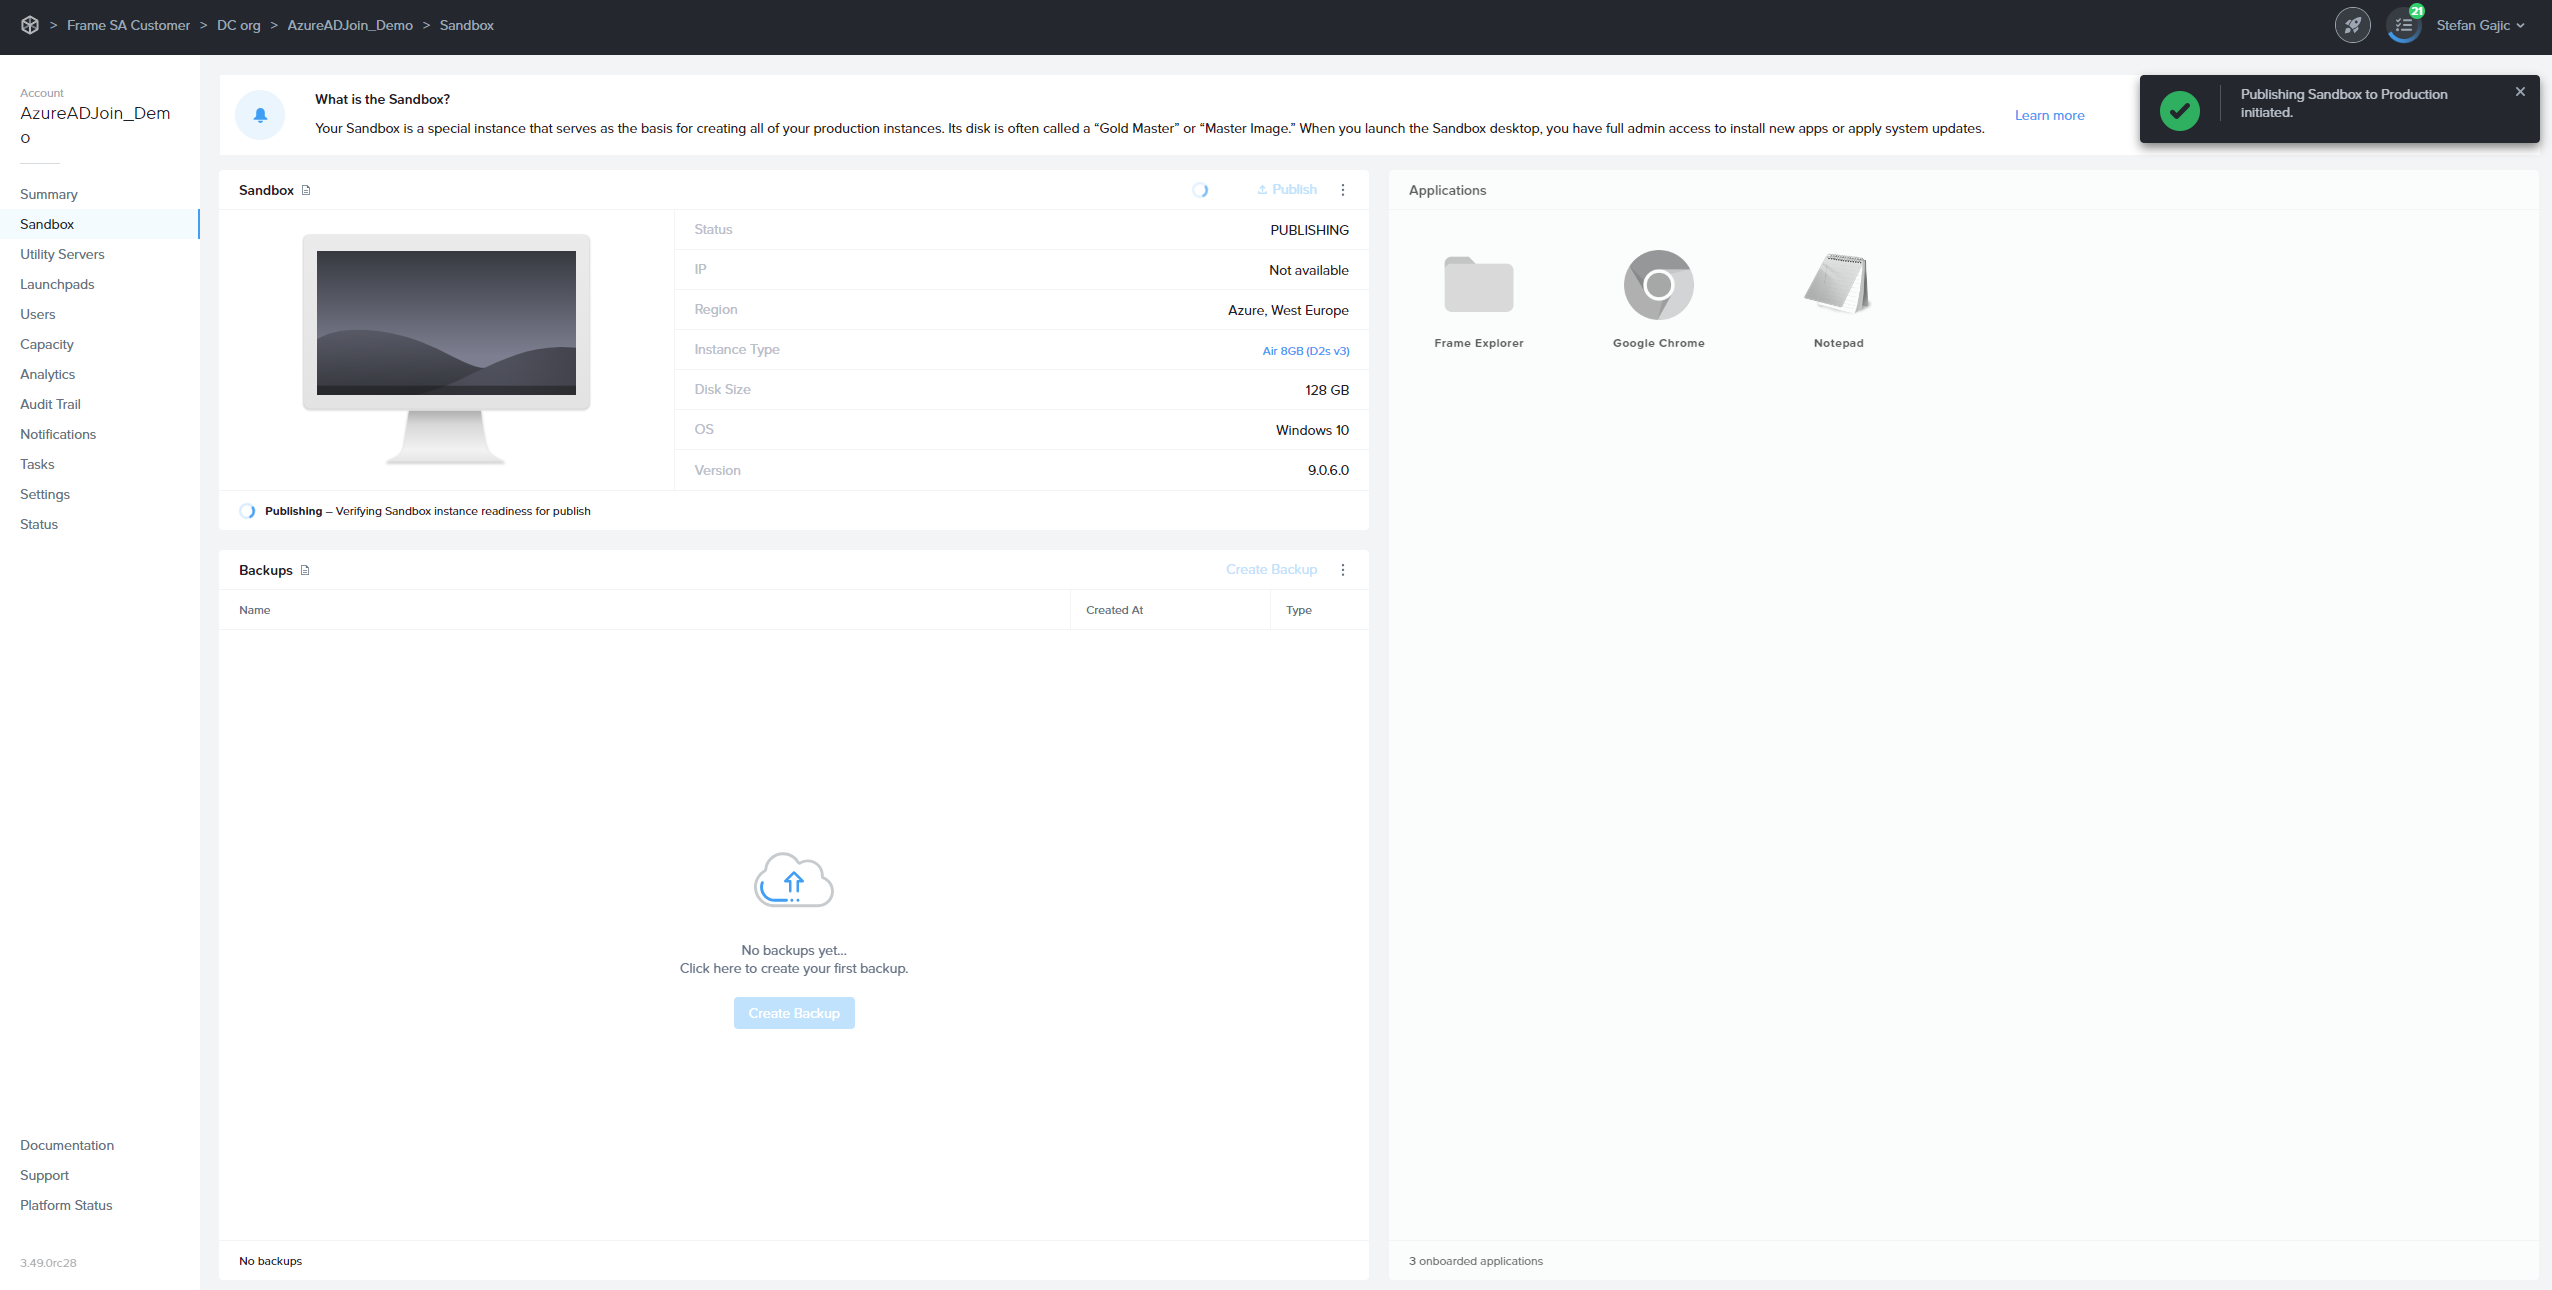
Next, navigate to the Sandbox page, and Publish the Sandbox.
 note
noteOnly test and production pool VMs will be Entra device joined. Sandbox and Utility server(s) will not be Entra device joined. If you wish to join your Utility server(s) to your Entra ID tenant, they must be joined manually.
dangerDo not join the Sandbox to Entra ID as this action can lead to sysprep failures during the publish process.
After a successful publish, navigate to the Status page to check the status of your VMs. You will notice that Entra joined devices have a prefix in their hostnames.
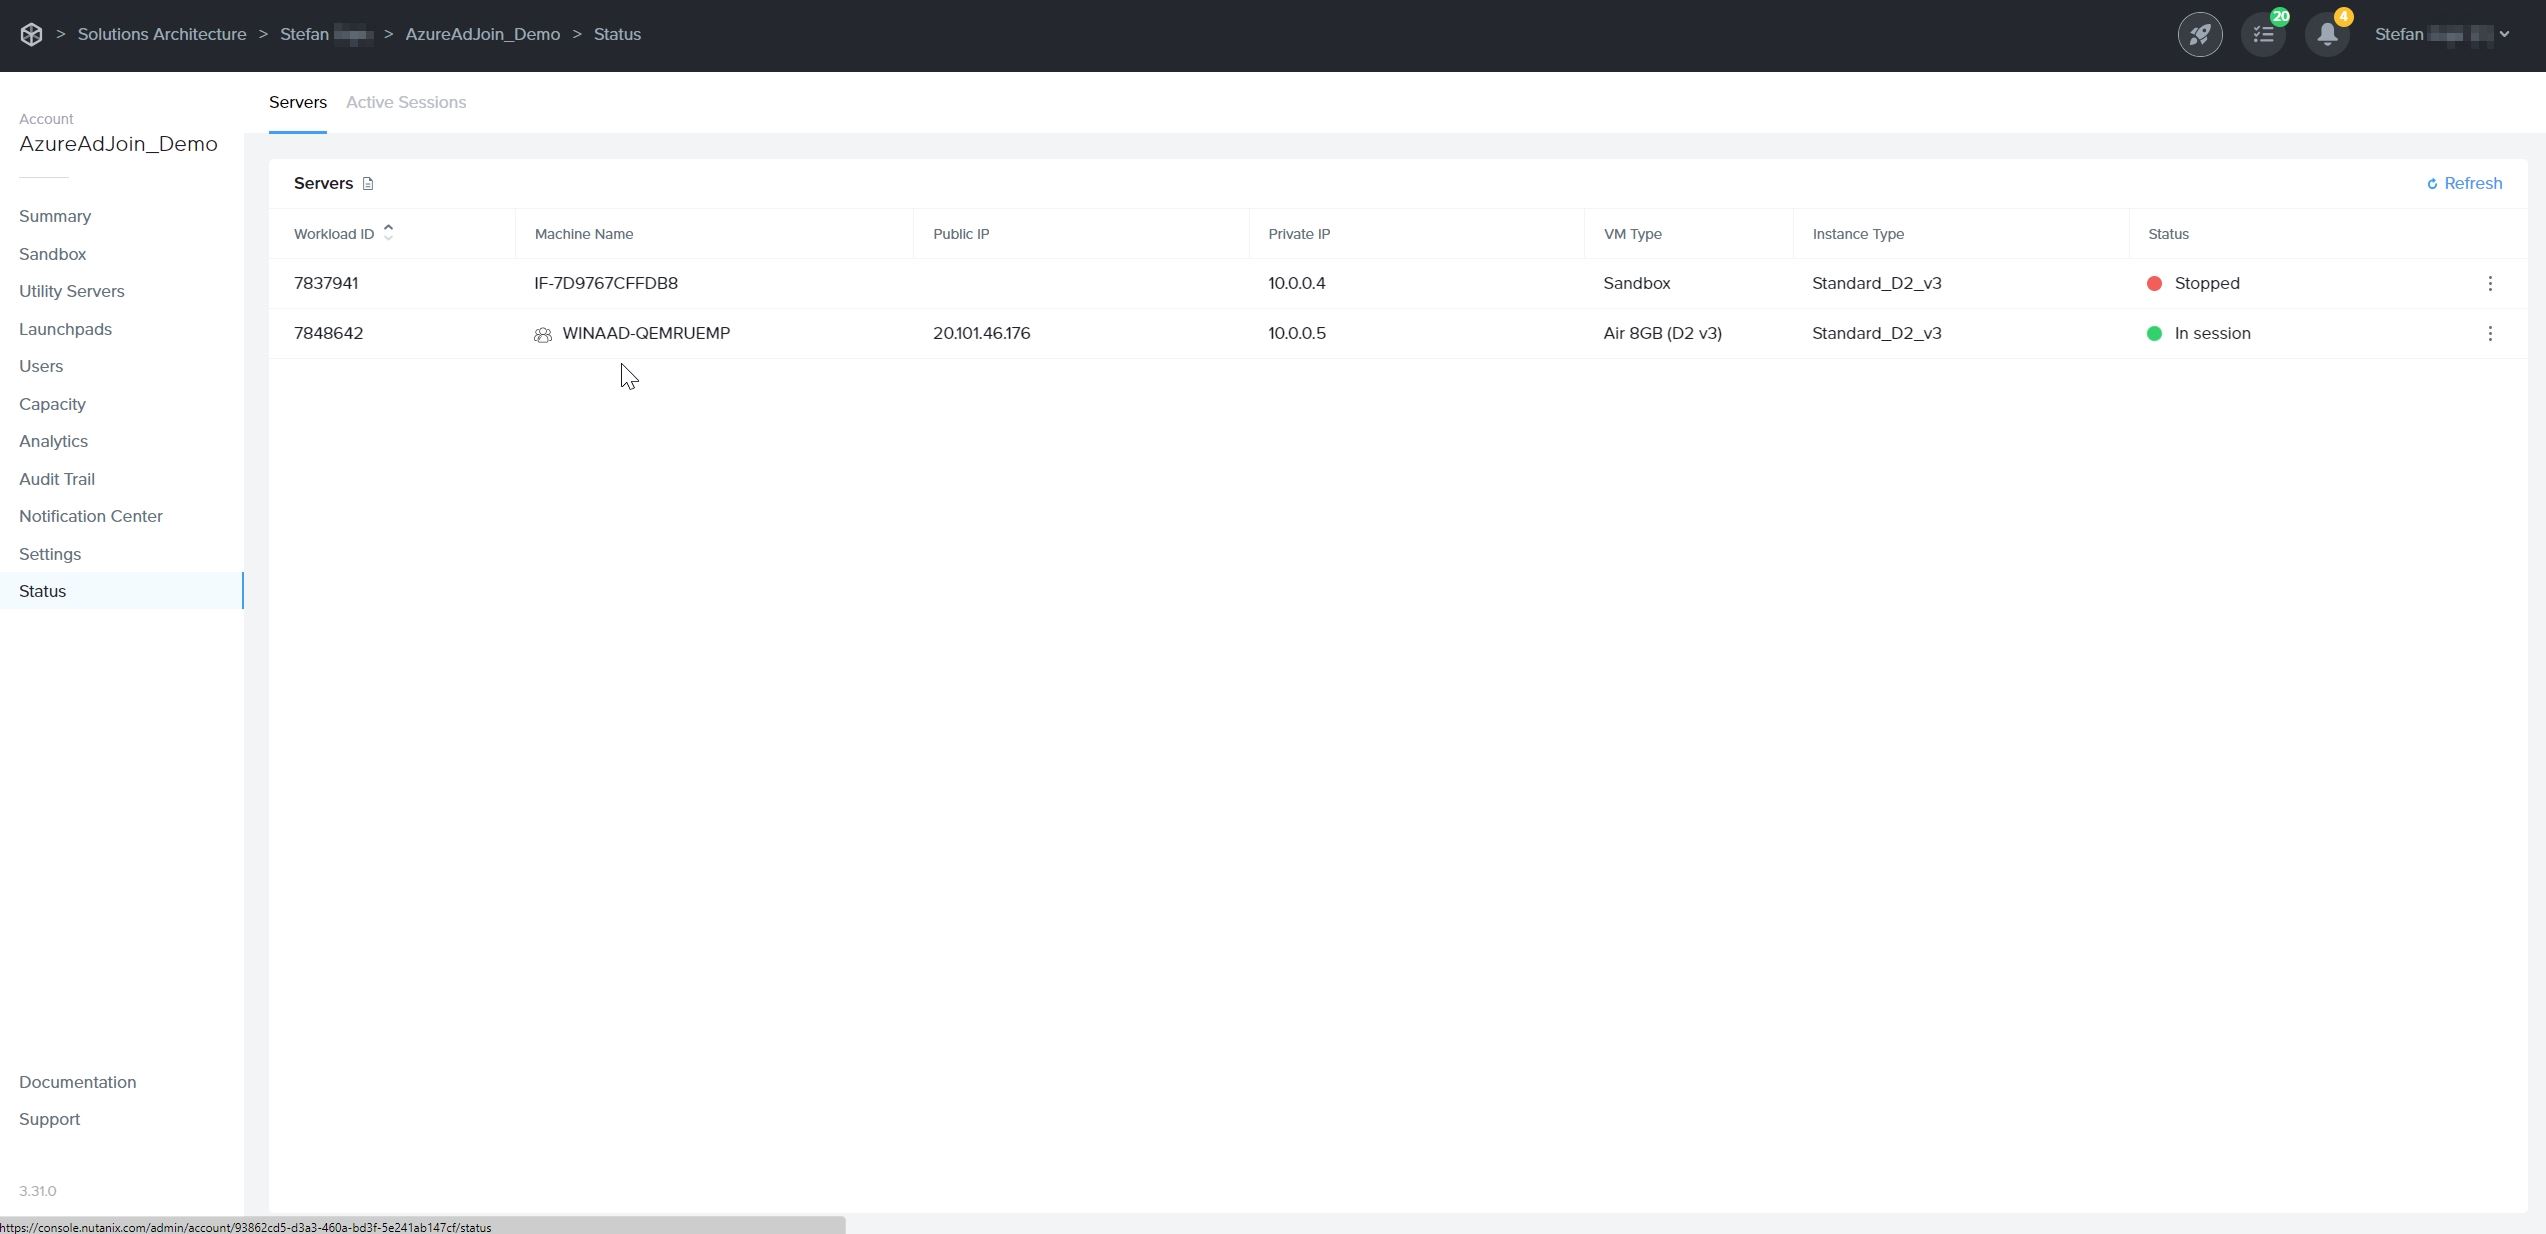
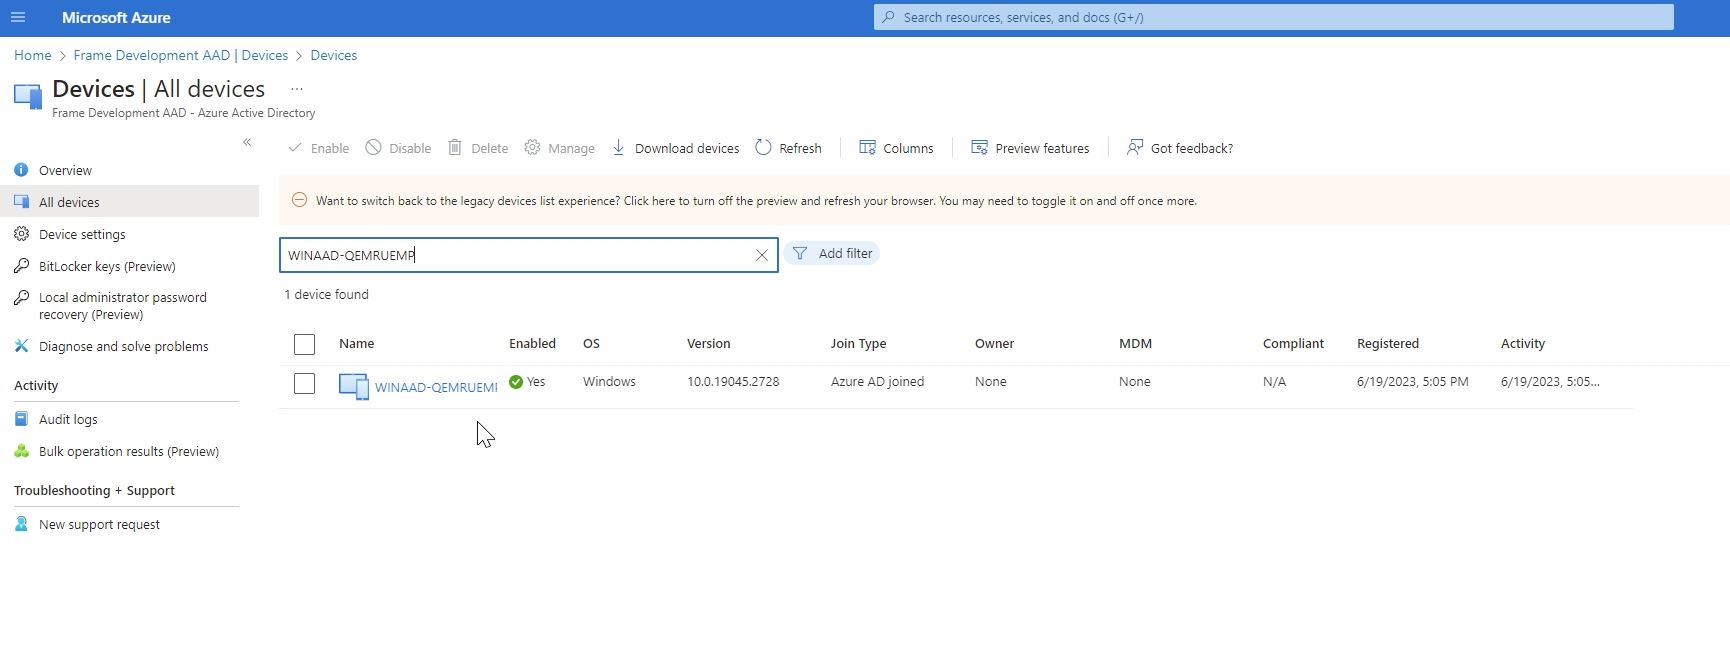
You can also login into Azure Portal and search for these Entra joined devices.
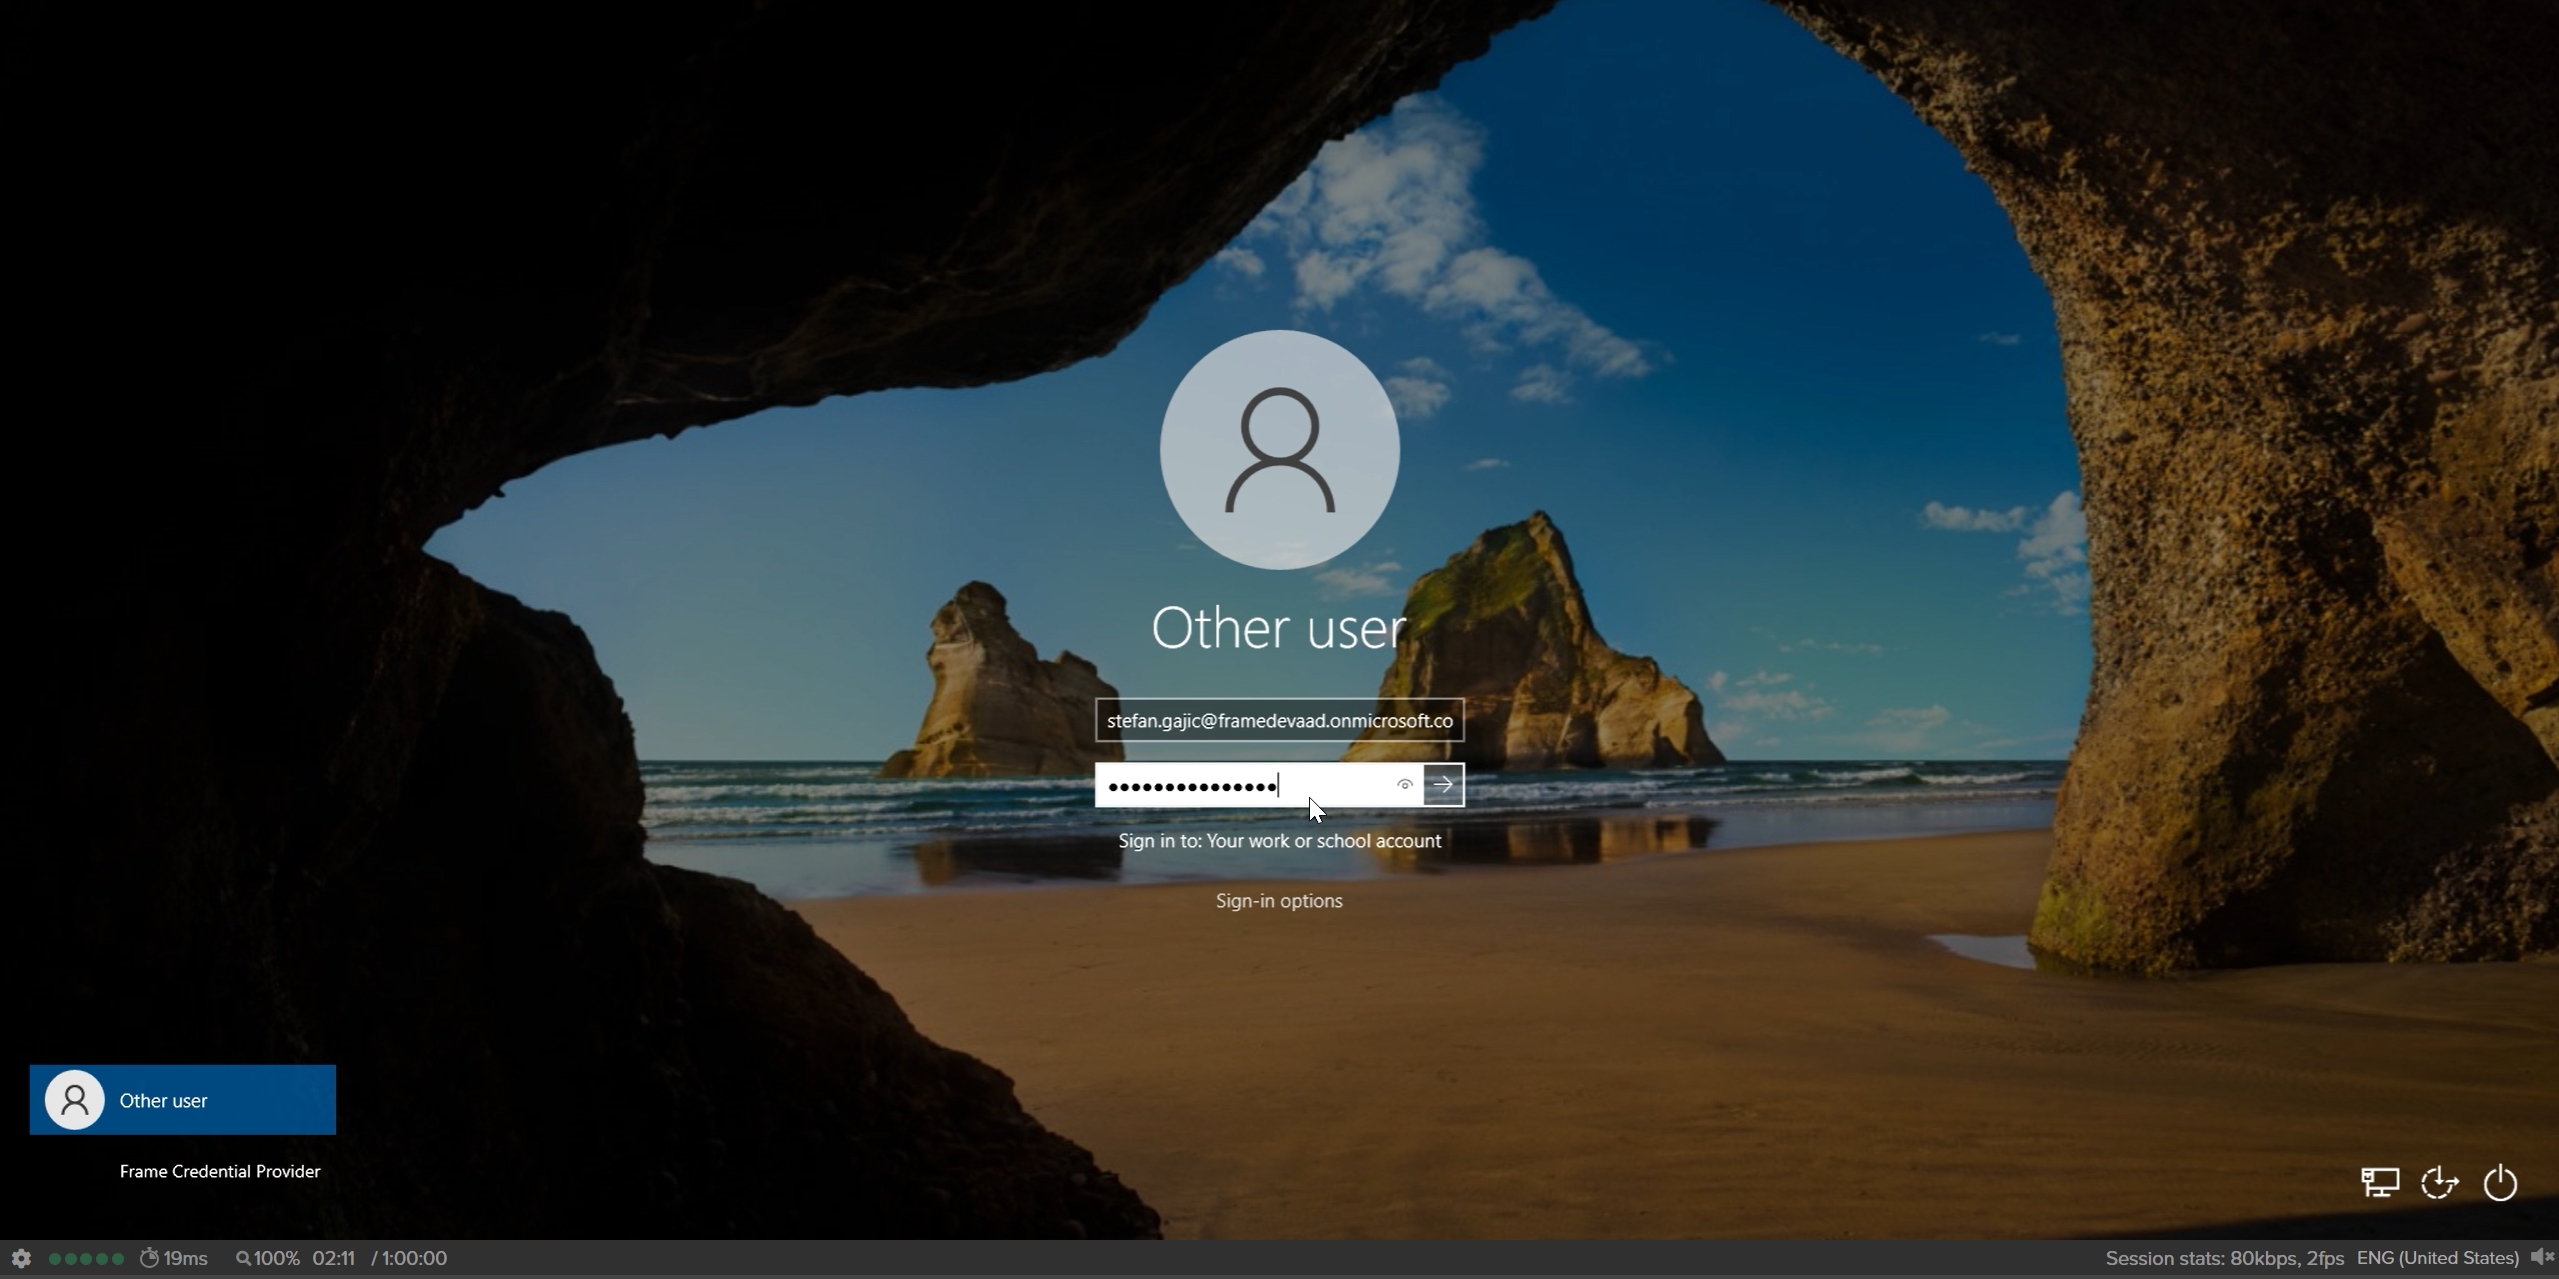
When end users log into their assigned VM, they will be asked to enter their Entra ID credentials as shown below:
Windows Hostname Prefix
The Windows hostnames for Entra joined devices on Azure will be generated once the VMs are provisioned, by concatenating the prefix WINAAD- with an 8 alphanumeric string, following the procedure described in Microsoft documentation.
The prefix will be the first 4 characters of the filename of the master image used to create the Frame Account Sandbox.