Azure DNS Configuration
By default, Azure defines its own default DNS settings for each VNet. Using the Frame Domain Join feature requires additional configuration for Azure-based cloud accounts. Using the default Azure DNS settings will result in communication problems between your Frame instances and domain controller. We will outline how to properly configure your Azure DNS settings to communicate with the Frame platform.
Requirements
- Administrative access to your Azure Portal
- A Frame account configured with BYO Azure Infrastructure
- An established Frame account configured on your BYO Azure
Configuration
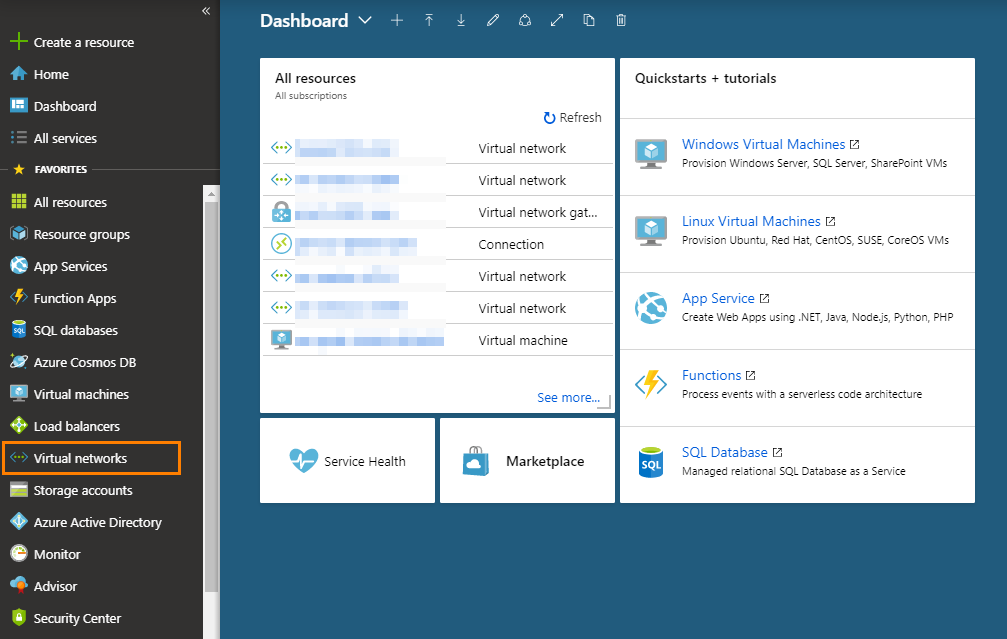
- First, log in to your Azure Portal and select the “Virtual networks” option from the menu on the left.
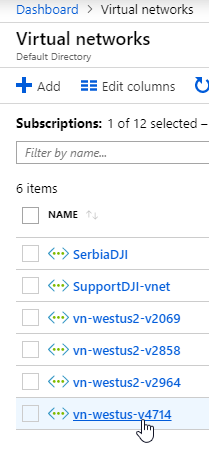
- Select the virtual network you will be configuring the DNS for.
- In the next menu that appears, select “DNS servers” listed under “Settings.”

Two options will appear, select “Custom.”
Under the “Custom” option, the first IP should be the IP of the DNS server that this VNet will be using. In some cases, this may be your domain controller. If you have a secondary DNS, enter it under the first IP.

As noted at the top of the Azure console, virtual machines within this virtual network must be restarted to utilize updated DNS server settings.
- Click the “Save” icon at the top of the page once you have configured the settings in step 5.

Your instances should now be able to communicate properly inside of your VNet.