Getting Started
Cosmos Control Center SaaS (C3-SaaS) is the interface where administrators can manage their legacy Dizzion Horizon PCVDC environments and virtual machines, manage support requests, and access analytics and other information via applications. All Dizzion customers must authenticate via C3-SaaS to access both Frame and Dizzion DaaS product support portals. This guide outlines how to set up, access, and navigate your C3-SaaS environment.
Getting Started
First-time Setup
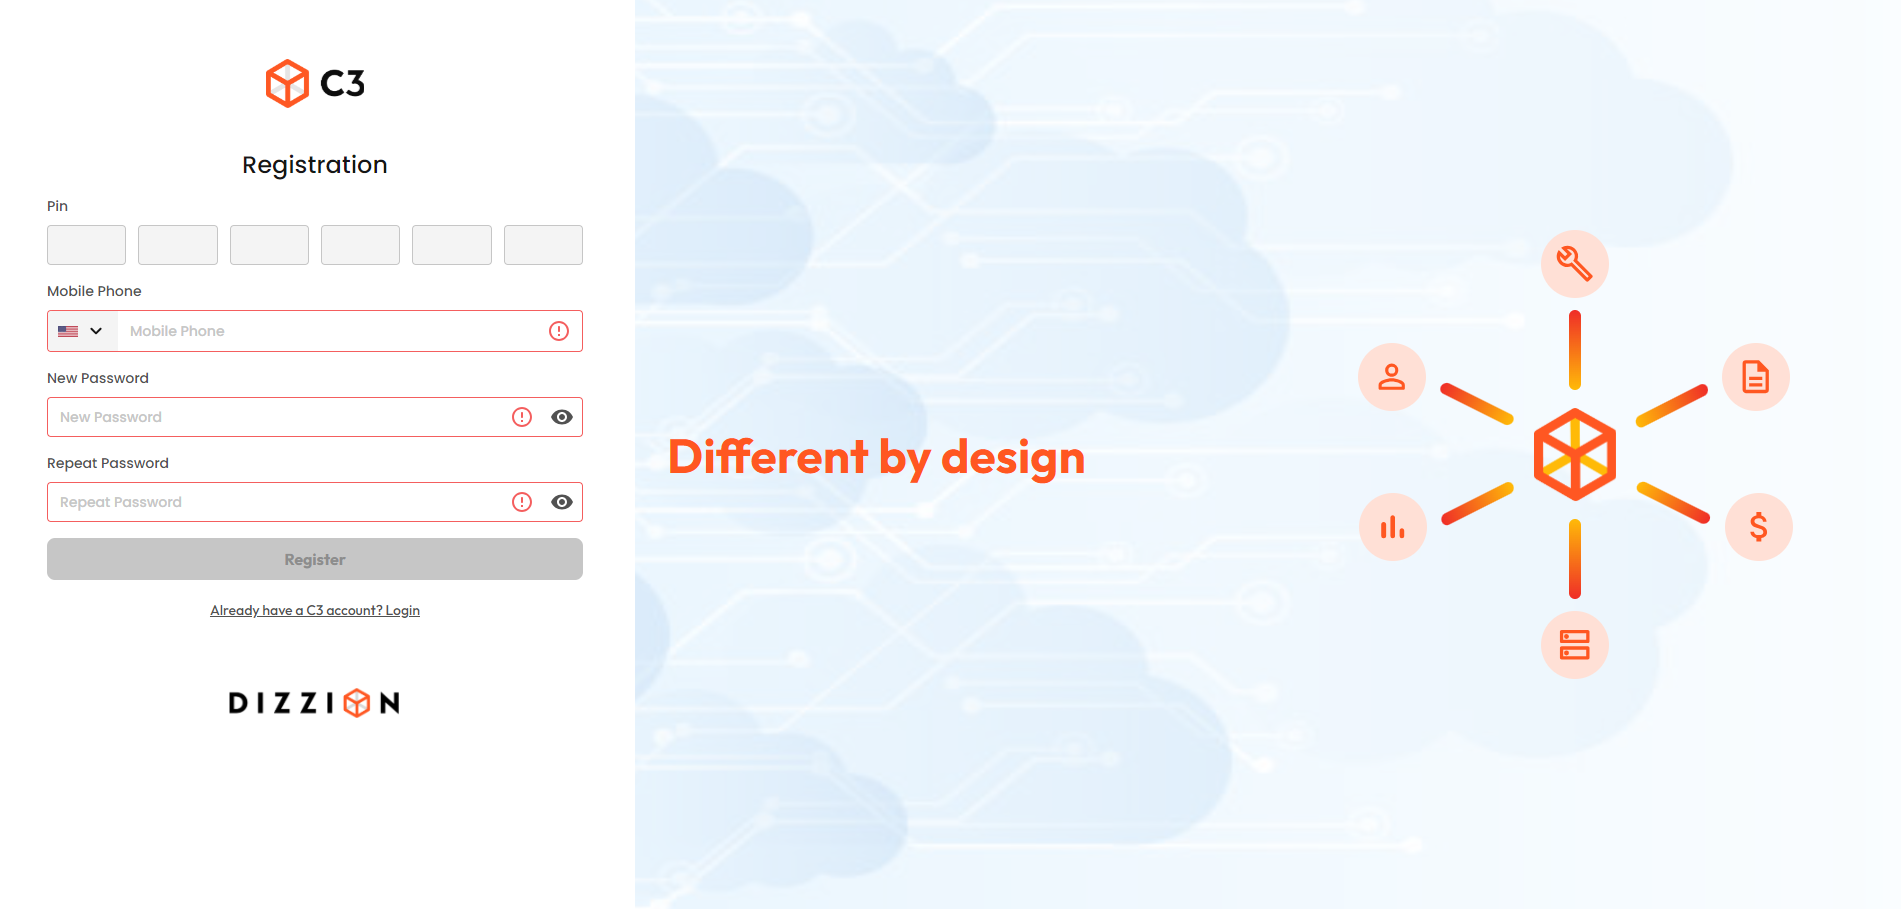
Administrators will receive a welcome email from Dizzion with link to complete their registration, as well as a one-time passcode (OTP) after their account is created. They will be required to enter the OTP provided in the email, a mobile phone number, and their new password for their C3-SaaS account. Once entered, simply click Register and log in.
Logging In
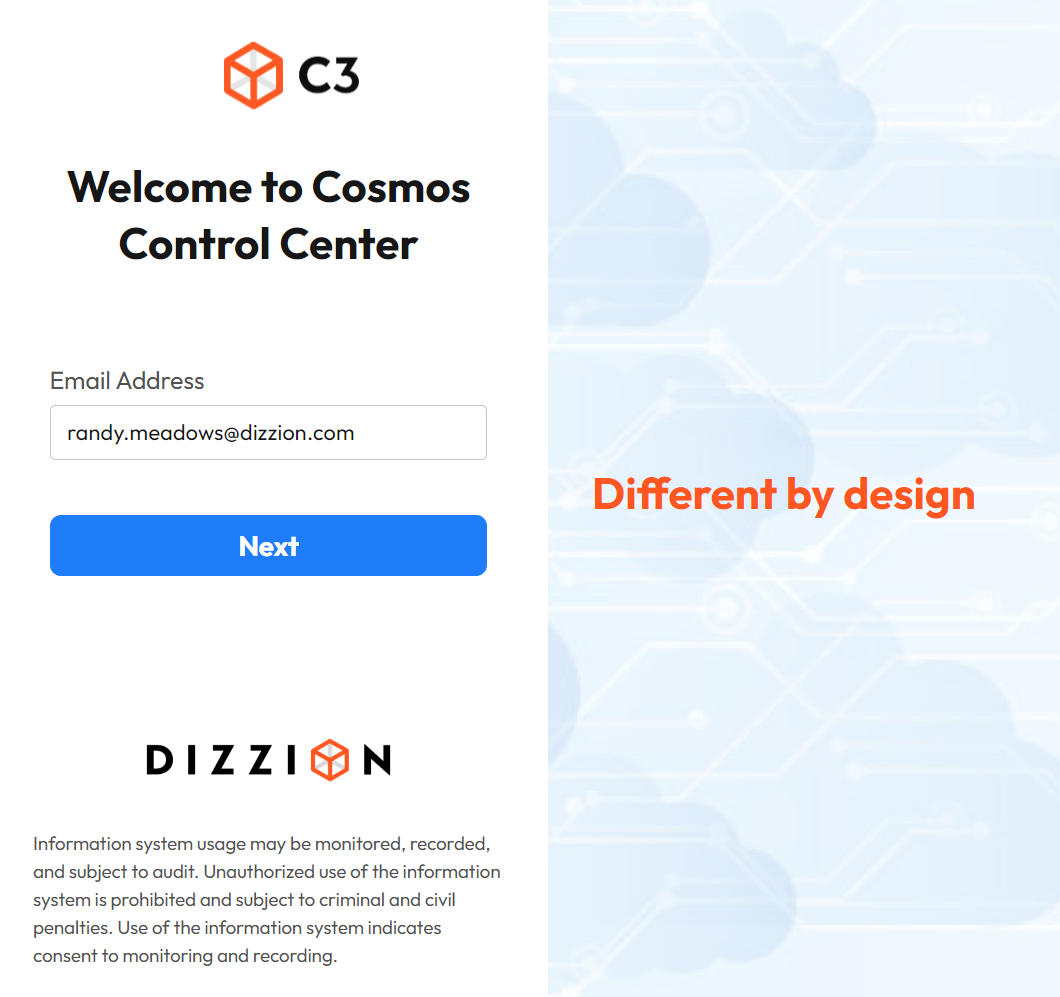
Administrators need simply to enter their email address as shown below:
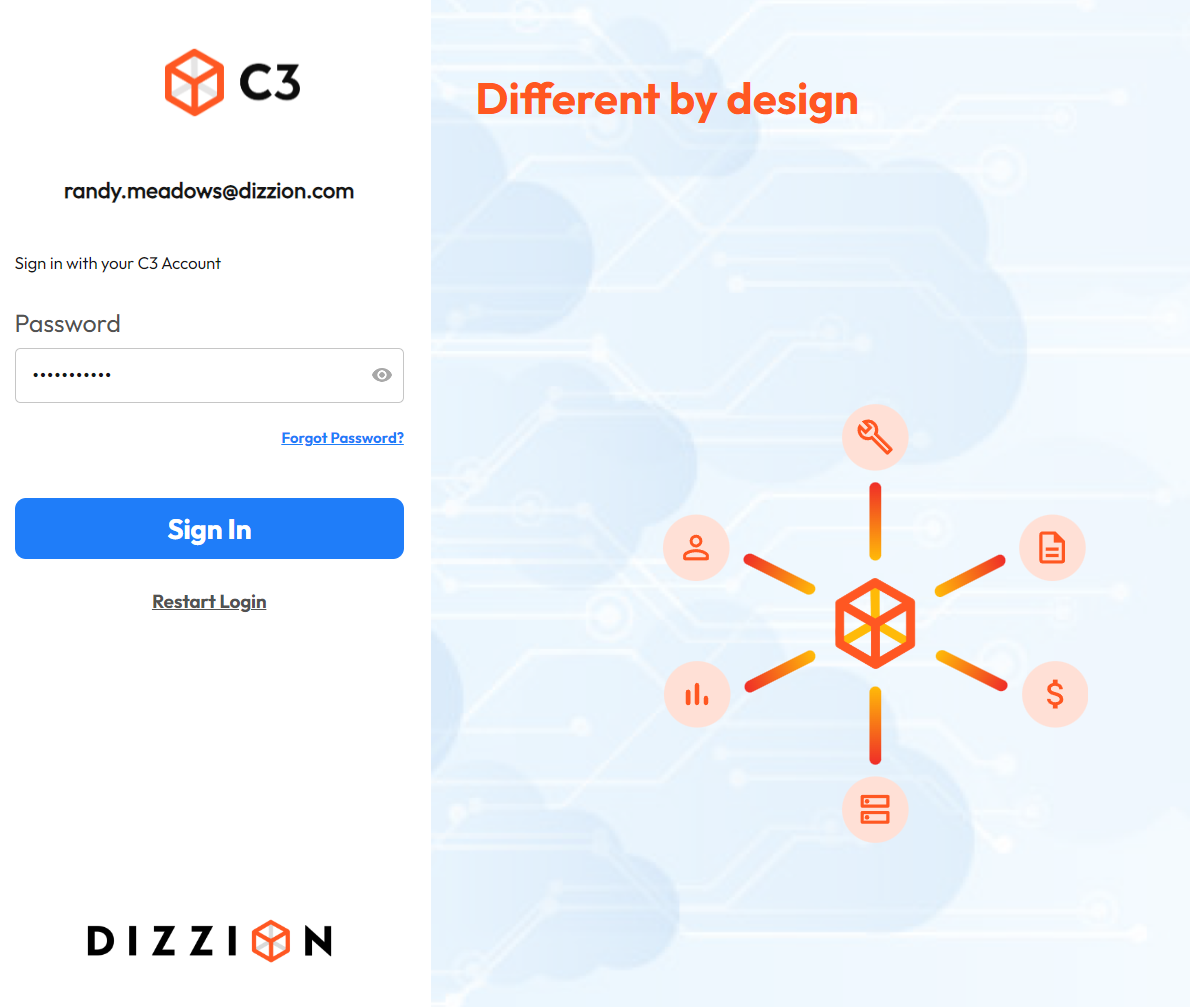
Once verified, you will be taken to a new page where your email address will be listed at the top. Enter your password in the field provided.
Stay Informed
Dashboard
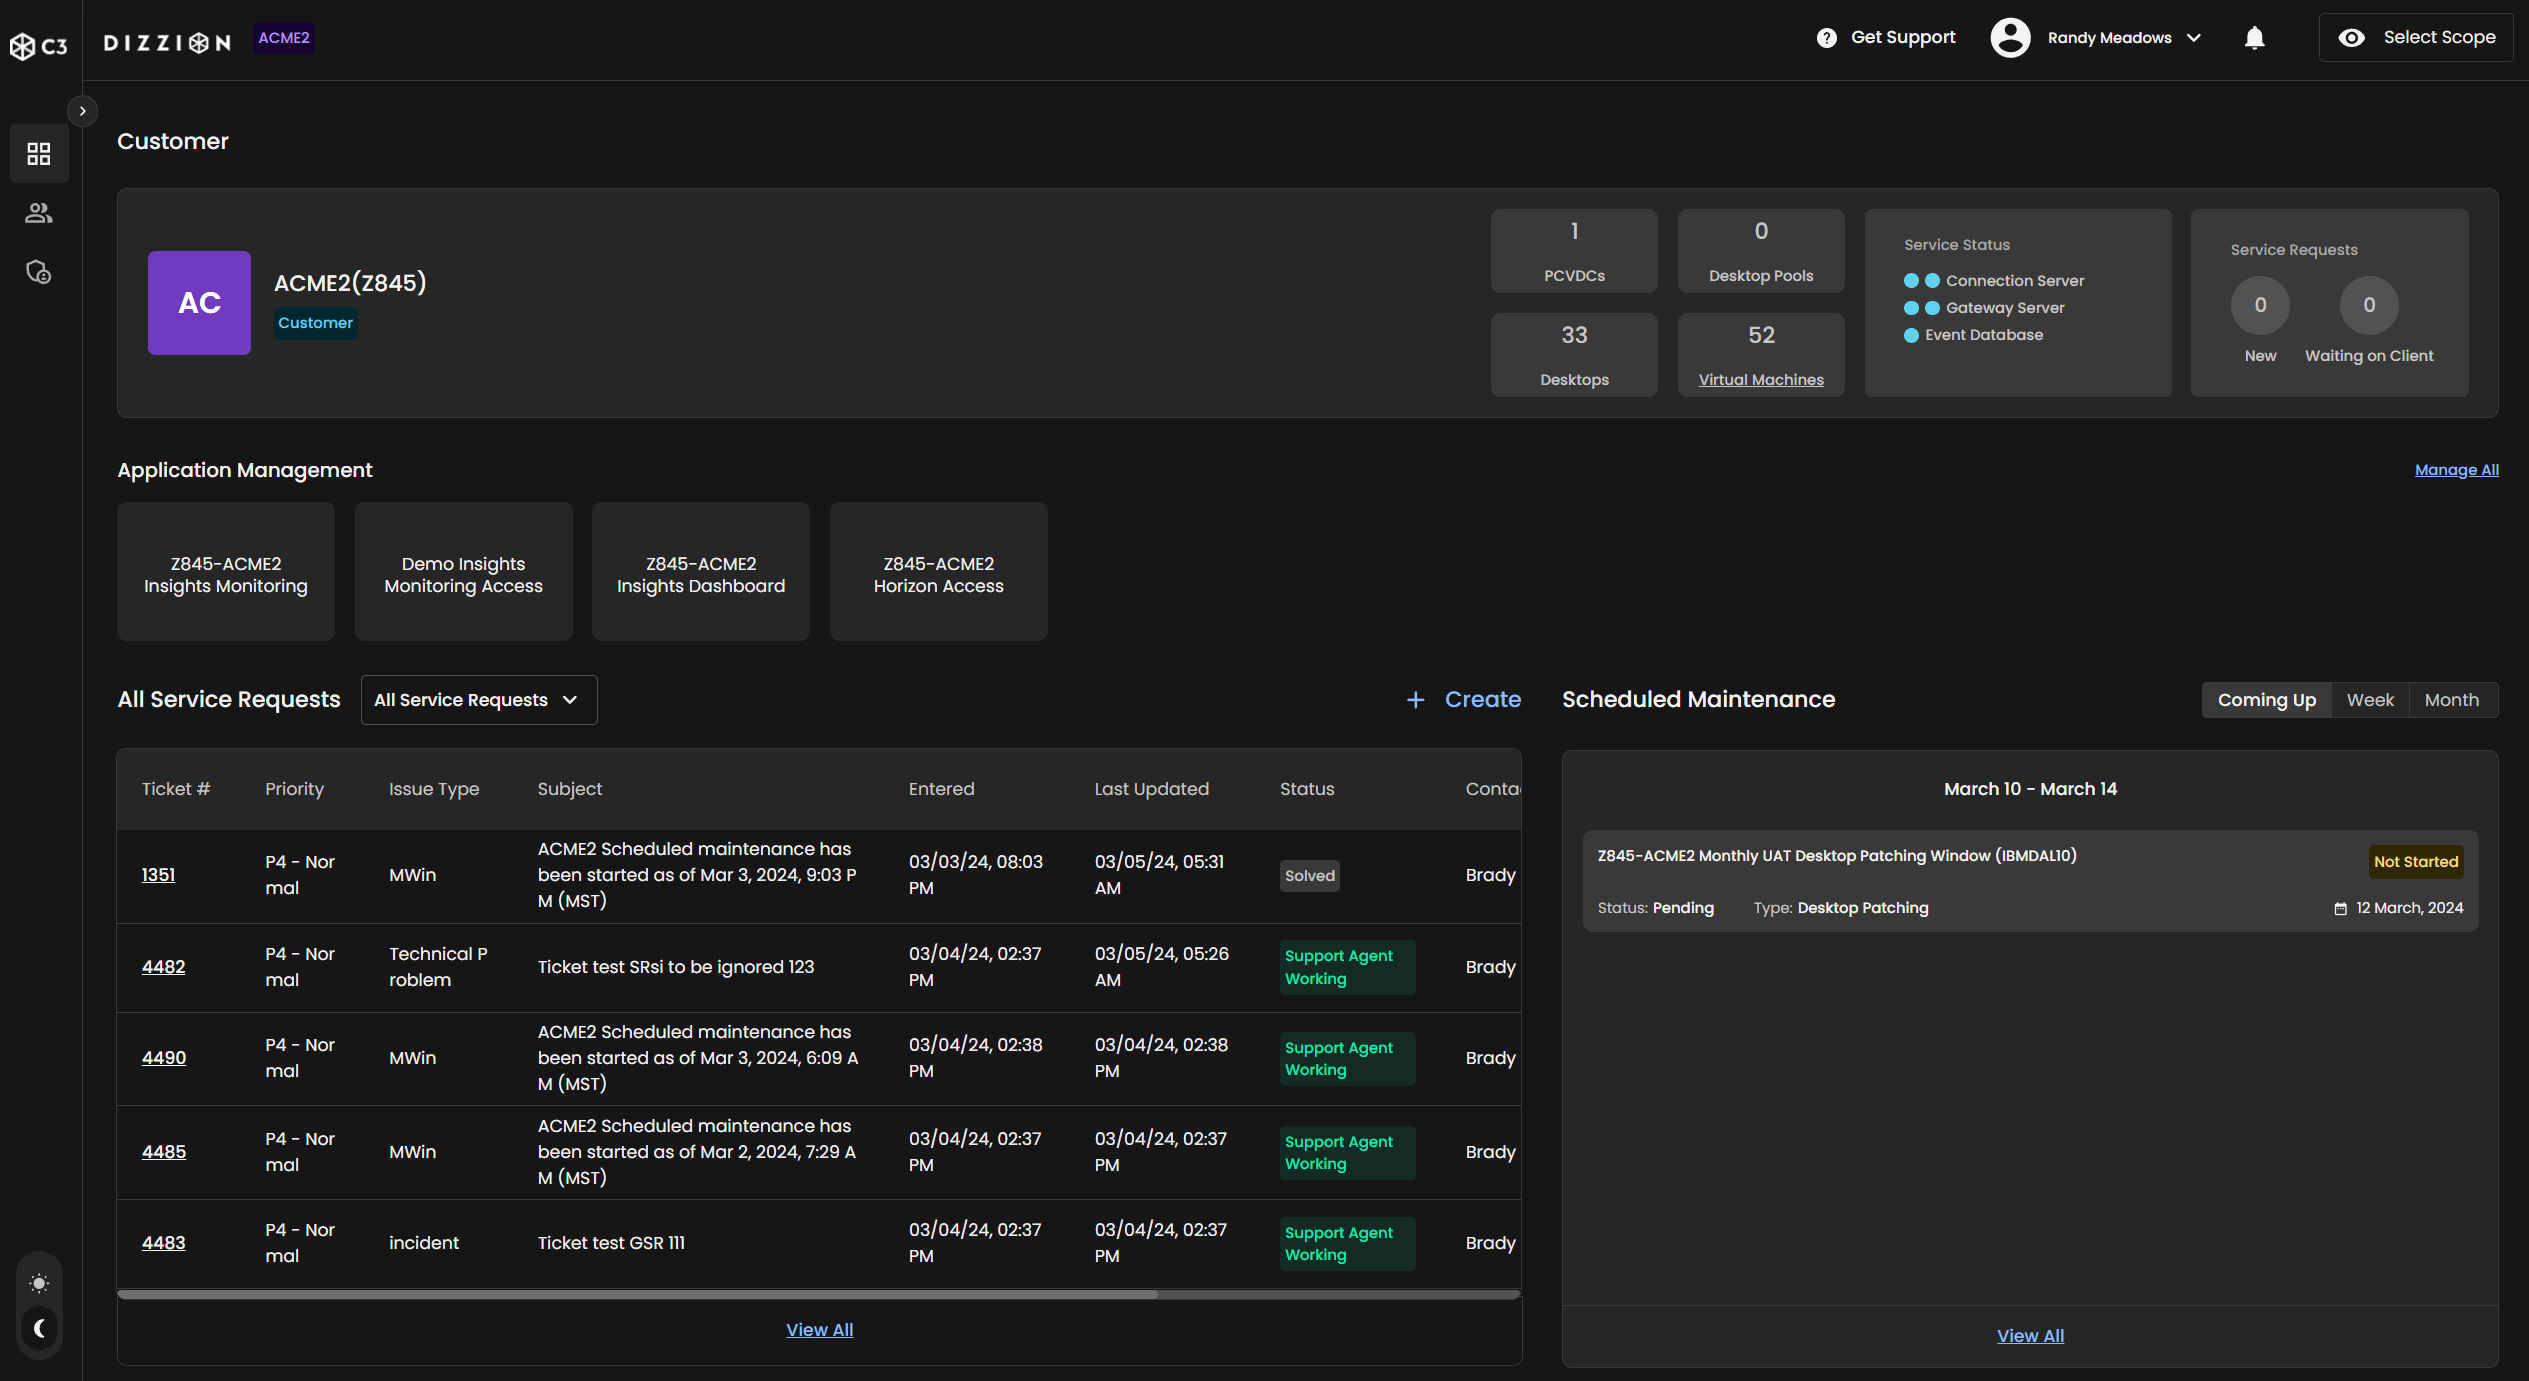
The C3-SaaS Dashboard is designed to offer administrators a comprehensive and intuitive interface for managing their Dizzion environments with ease.
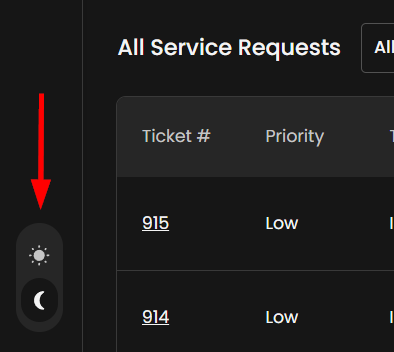
Dark Mode
The C3-SaaS interface supports dark mode, which can be toggled at the bottom left corner of the page.
The Customer card at the top of your Dashboard provides you with an at-a-glance overview of your virtual environment, including the total count of PVCDCs, Desktop Pools, and Desktops, and VMs. This card also provides you with a count of your active service requests and displays the statuses of all associated services (Connection Server, Gateway Server, and Event Database) keeping you informed about the health and activity within your infrastructure.

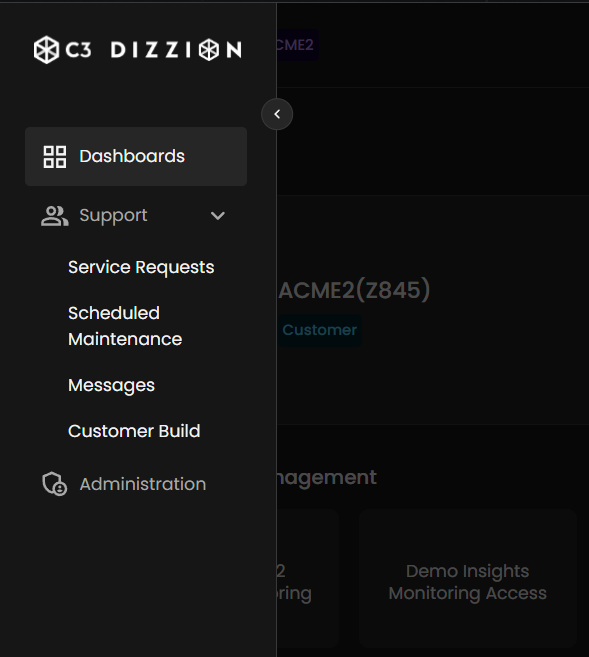
The sections documented below are accessible from the Dashboard as well as the C3-SaaS sidebar:
Support
Service Requests
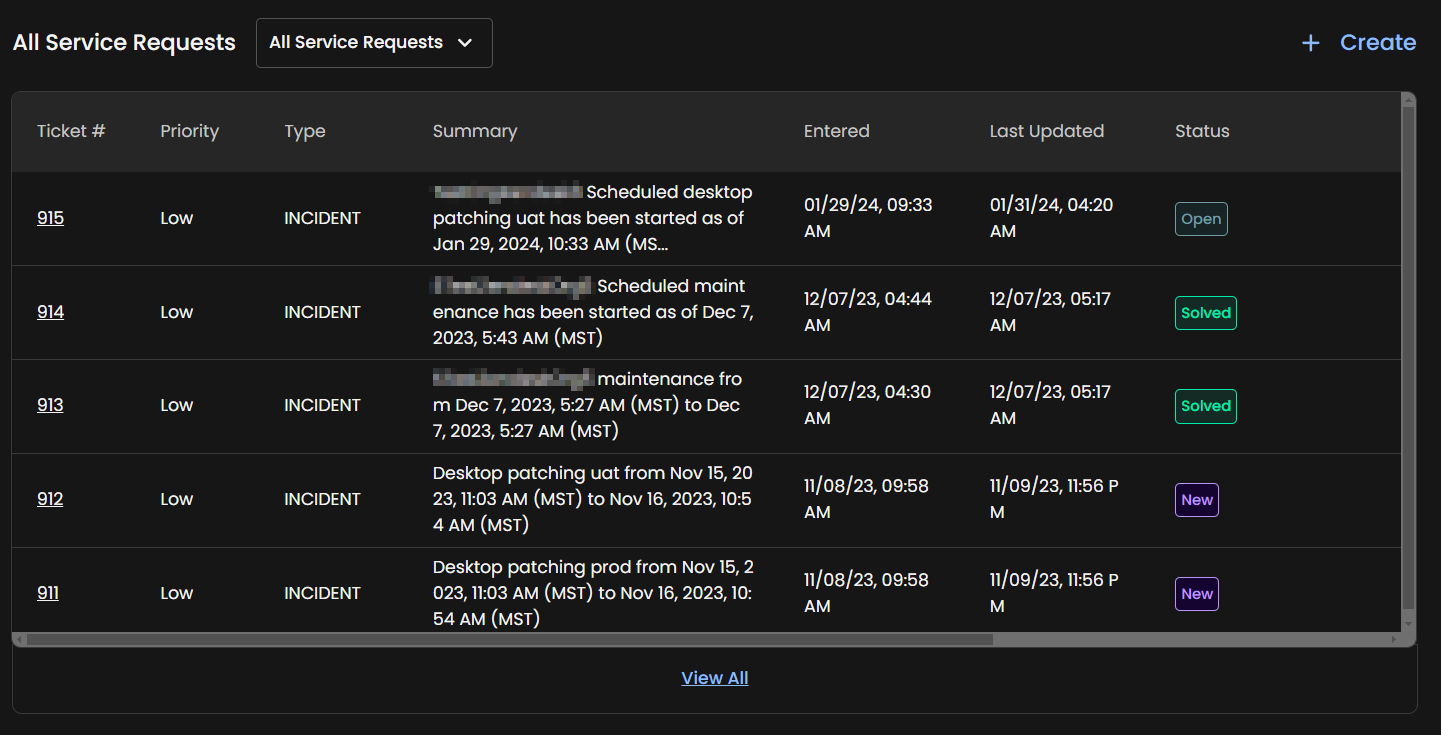
The Service Requests card on the C3-SaaS Dashboard is your centralized location for tracking and managing support tickets and service issues. This card lists all service requests associated with your environment, providing critical ticket information at a glance, including the ticket number, priority level, type of issue, summary of the request, entry time, last update, and current status. All service requests will appear here, including those submitted via our support portal as well as requests made via the C3S Dashboard. We will outline how to create a service request via the C3S Dashboard below.
Monitoring
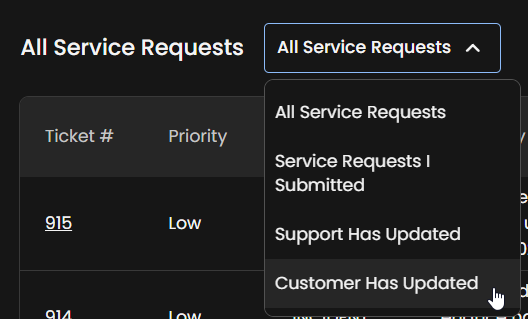
The C3-SaaS Dashboard makes monitoring your service requests simple. From the Service Requests card, administrators can easily check the status of each request, look at additional details, and filter by various views.
Service requests consist of the following statuses:
| Status Classification/Color | Description |
|---|---|
| New | New service requests that have not yet been acknowledged by support staff will appear with this status. |
| Open | Service requests with the "Open" status will reflect that a case is actively being investigated and worked on. |
| Pending | Service requests in this state are in progress and may be waiting on vendor or customer response to continue. |
| On Hold | This status is assigned to service requests that are pending review by engineering, awaiting a future release, or generally on hold. |
| Solved | Any requests that are solved or closed will be assigned this status. |
Create a Service Request
To initiate a service request within the C3-SaaS platform, administrators can easily navigate to the All Service Requests card. Here, the + Create button is displayed, inviting users to begin the process.

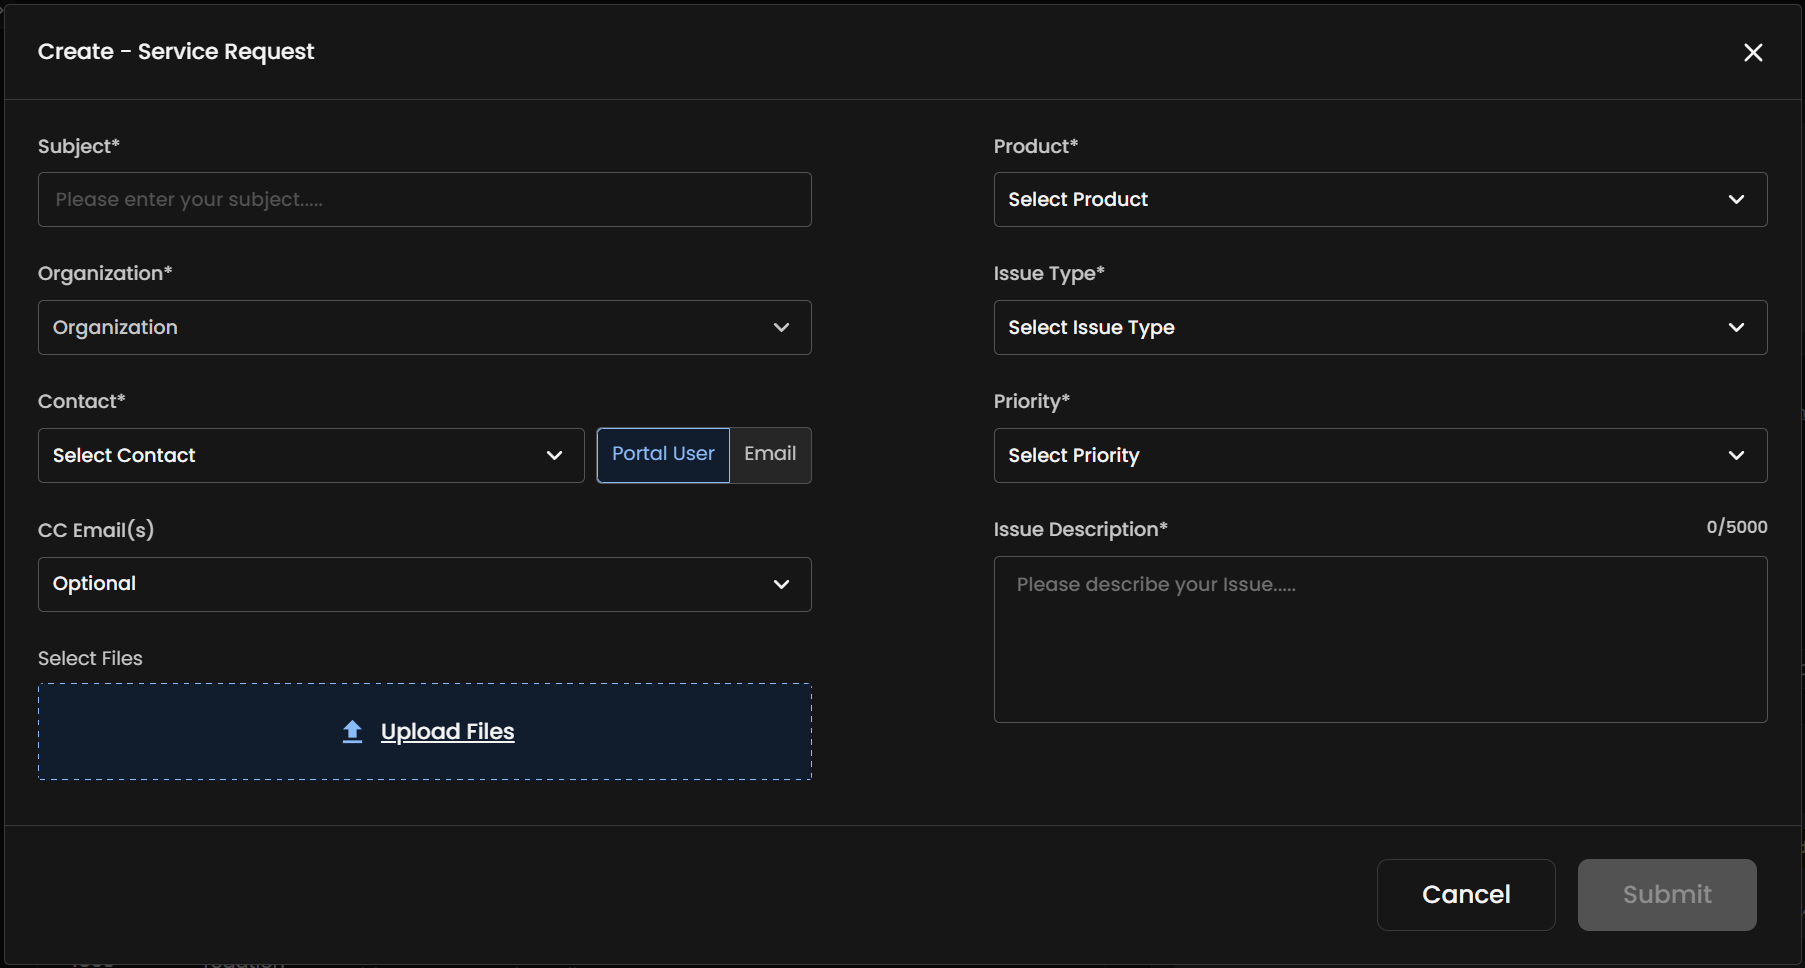
A simple and clear form will appear, designed to capture all pertinent details of the service request. Fields for input include the subject of the request, the relevant organization and contact information, and specifics about the product and issue type. Administrators can set the priority, provide a detailed description, and even attach relevant files for clarity. Once all necessary information is entered, submitting the request is as straightforward as hitting the Submit button, after which the support team is alerted to the new ticket.
Once your request has been submitted, you can track the status as outlined above.
Scheduled Maintenance
The "Scheduled Maintenance" section of the C3-SaaS Dashboard provides administrators with an overview of upcoming maintenance activities for their managed environments. This part of the dashboard is essential for planning and ensuring that maintenance events are anticipated and managed effectively.
Administrators can view the schedule for various maintenance tasks, such as reboots, patching, and compliance updates. Each listed activity includes a status indicator,(e.g., "Pending") and the type of maintenance, (e.g., "Desktop Patching") providing clear insight into what actions are set to occur. Dates are also provided, enabling administrators to prepare for any potential impact on services.
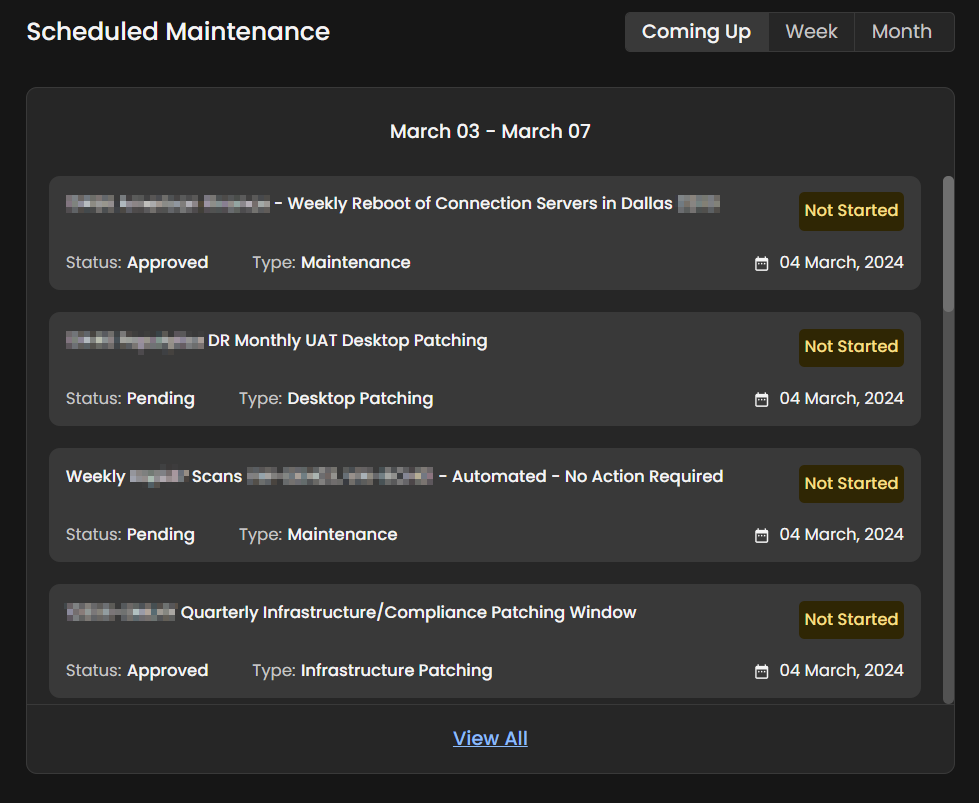
For a more detailed view or to see maintenance scheduled further in the future, admins can use the View All link at the bottom of the section which expands the section to a dedicated page, on the Scheduled tab:
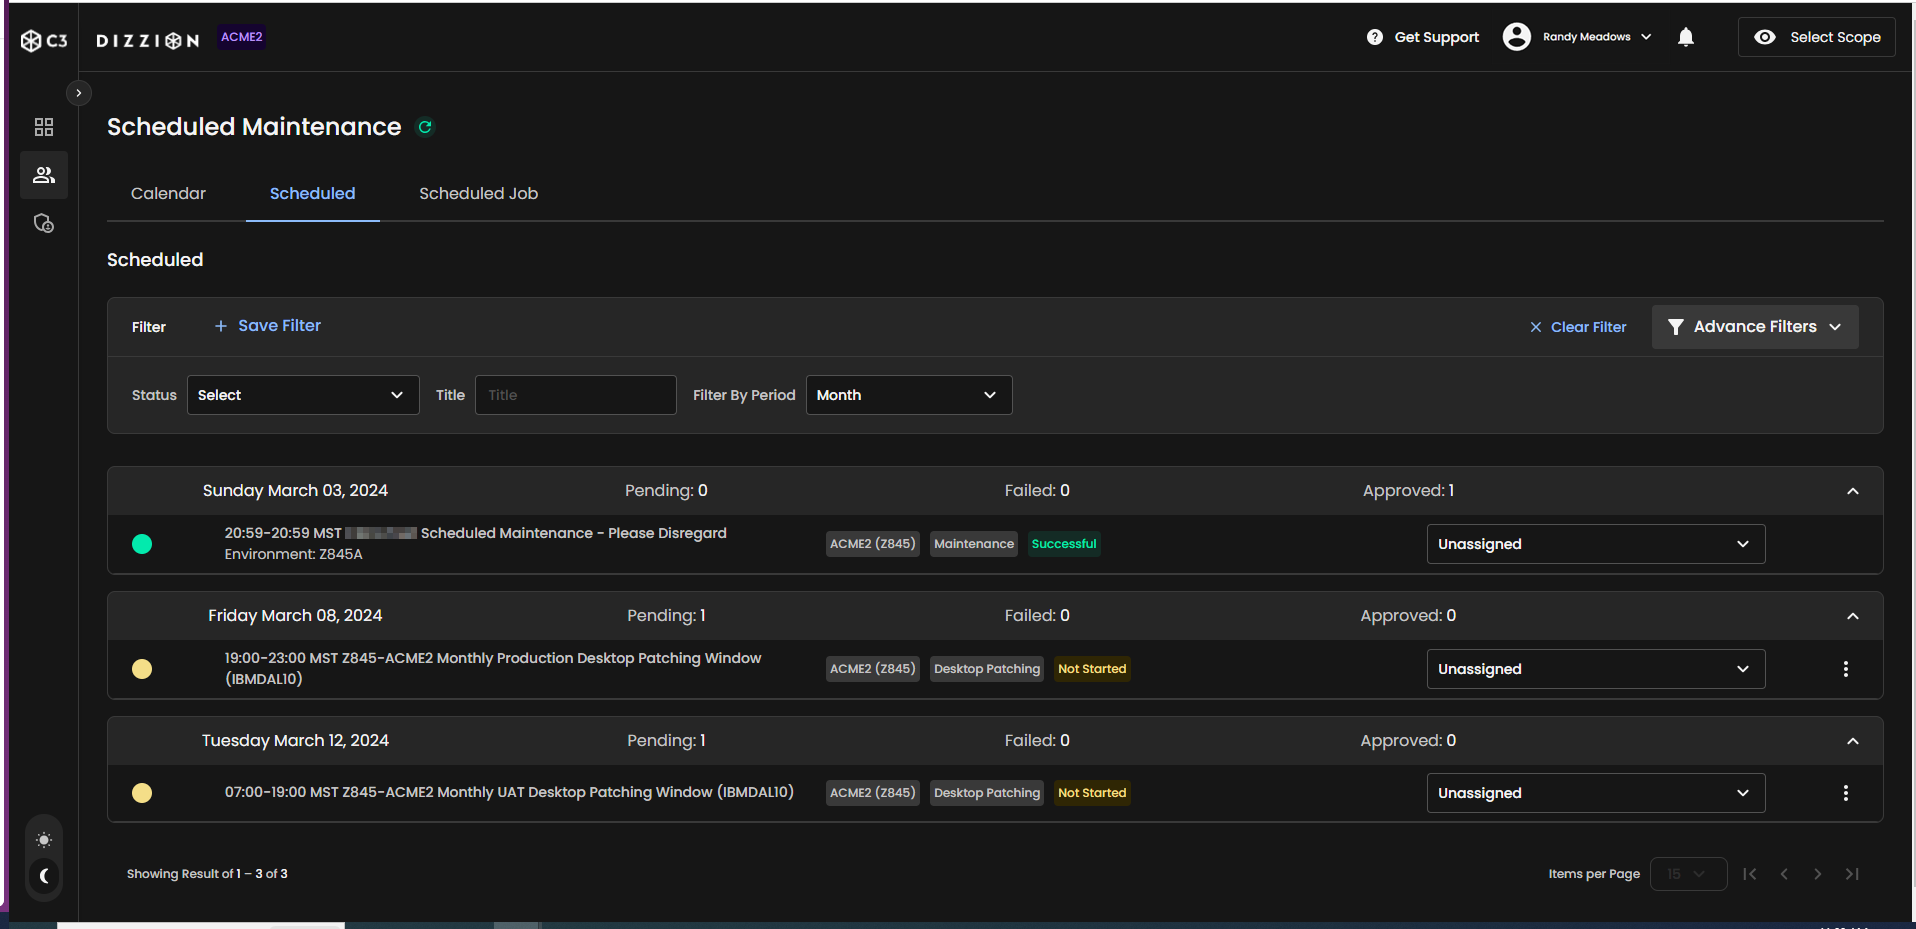
Administrators can filter and sort by various criteria like status or time period, making it easy to focus on specific events. Advanced filters are also available for more granular control over the displayed information.
Each event includes a title describing the activity, the scheduled time frame, and the assigned personnel if applicable, facilitating accountability and follow-up. This comprehensive view ensures that administrators can track and manage all maintenance tasks effectively, coordinating with their teams and preparing for any potential service interruptions with ease.
Administrators have two other tabs they can navigate to:
- The Calendar tab provides the same information shown on the Scheduled tab, organized in a calendar view.
- The Scheduled Job tab which we'll discuss in more detail below.
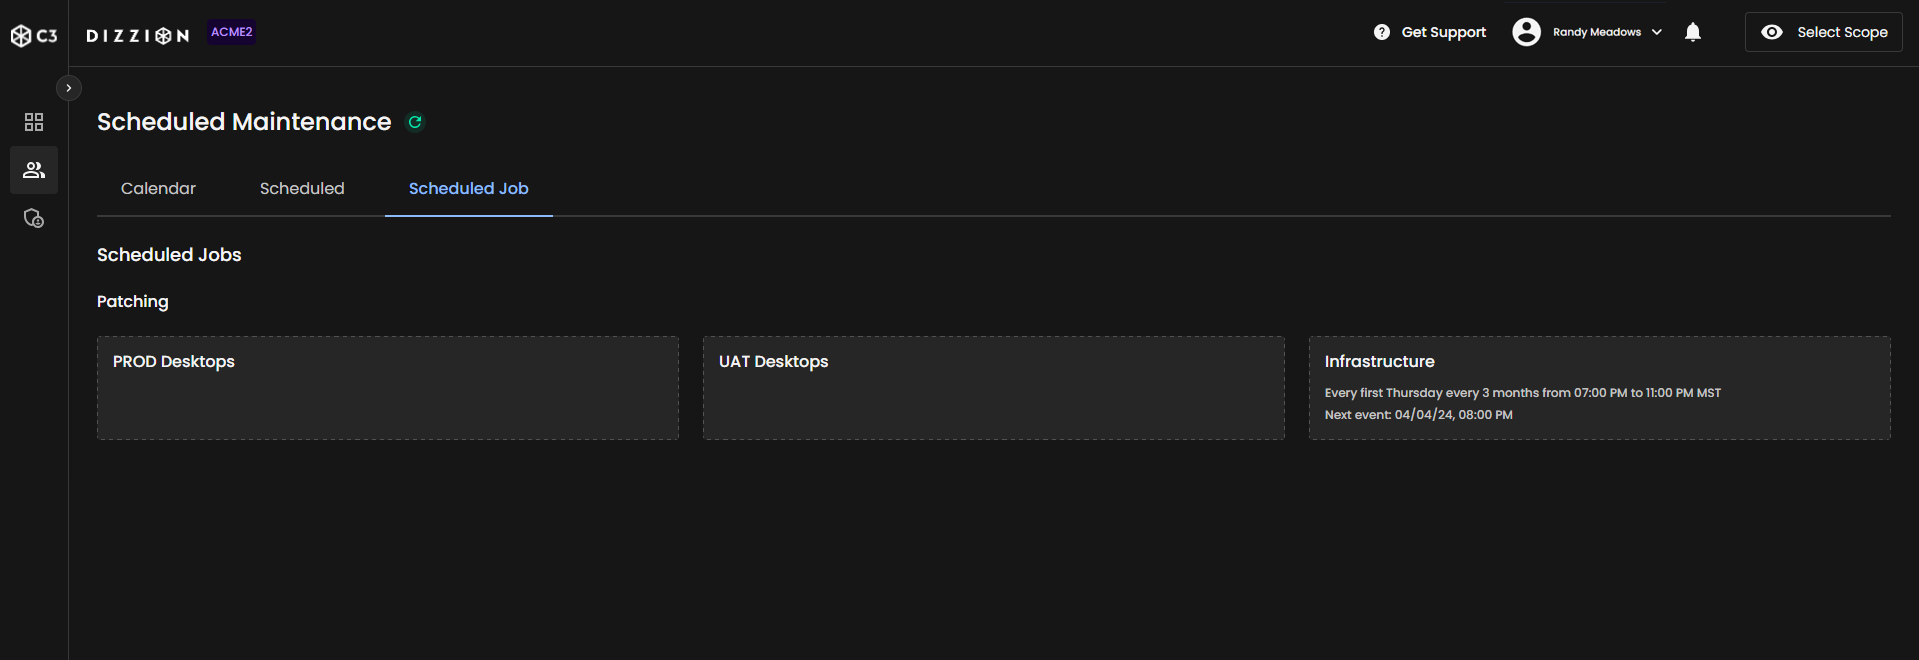
In the Scheduled Job tab, administrators will see the recurring maintenance schedules for different aspects of their environment, such as production (PROD) desktops, User Acceptance Testing (UAT) desktops, and infrastructure.
Each section is compartmentalized into its own box where the specific schedules are shown. Not every customer will have all three types of maintenance—PROD, UAT, and infrastructure—scheduled; it depends on their specific service package and needs. This tailored view allows admins to quickly glance at the upcoming maintenance activities that are pertinent to their organization.
Messages
The Messages section is accessible from the C3-SaaS sidebar. Administrators can go to this section when they wish to view or create announcements or notifications. We'll start this section with details about the Announcements tab.
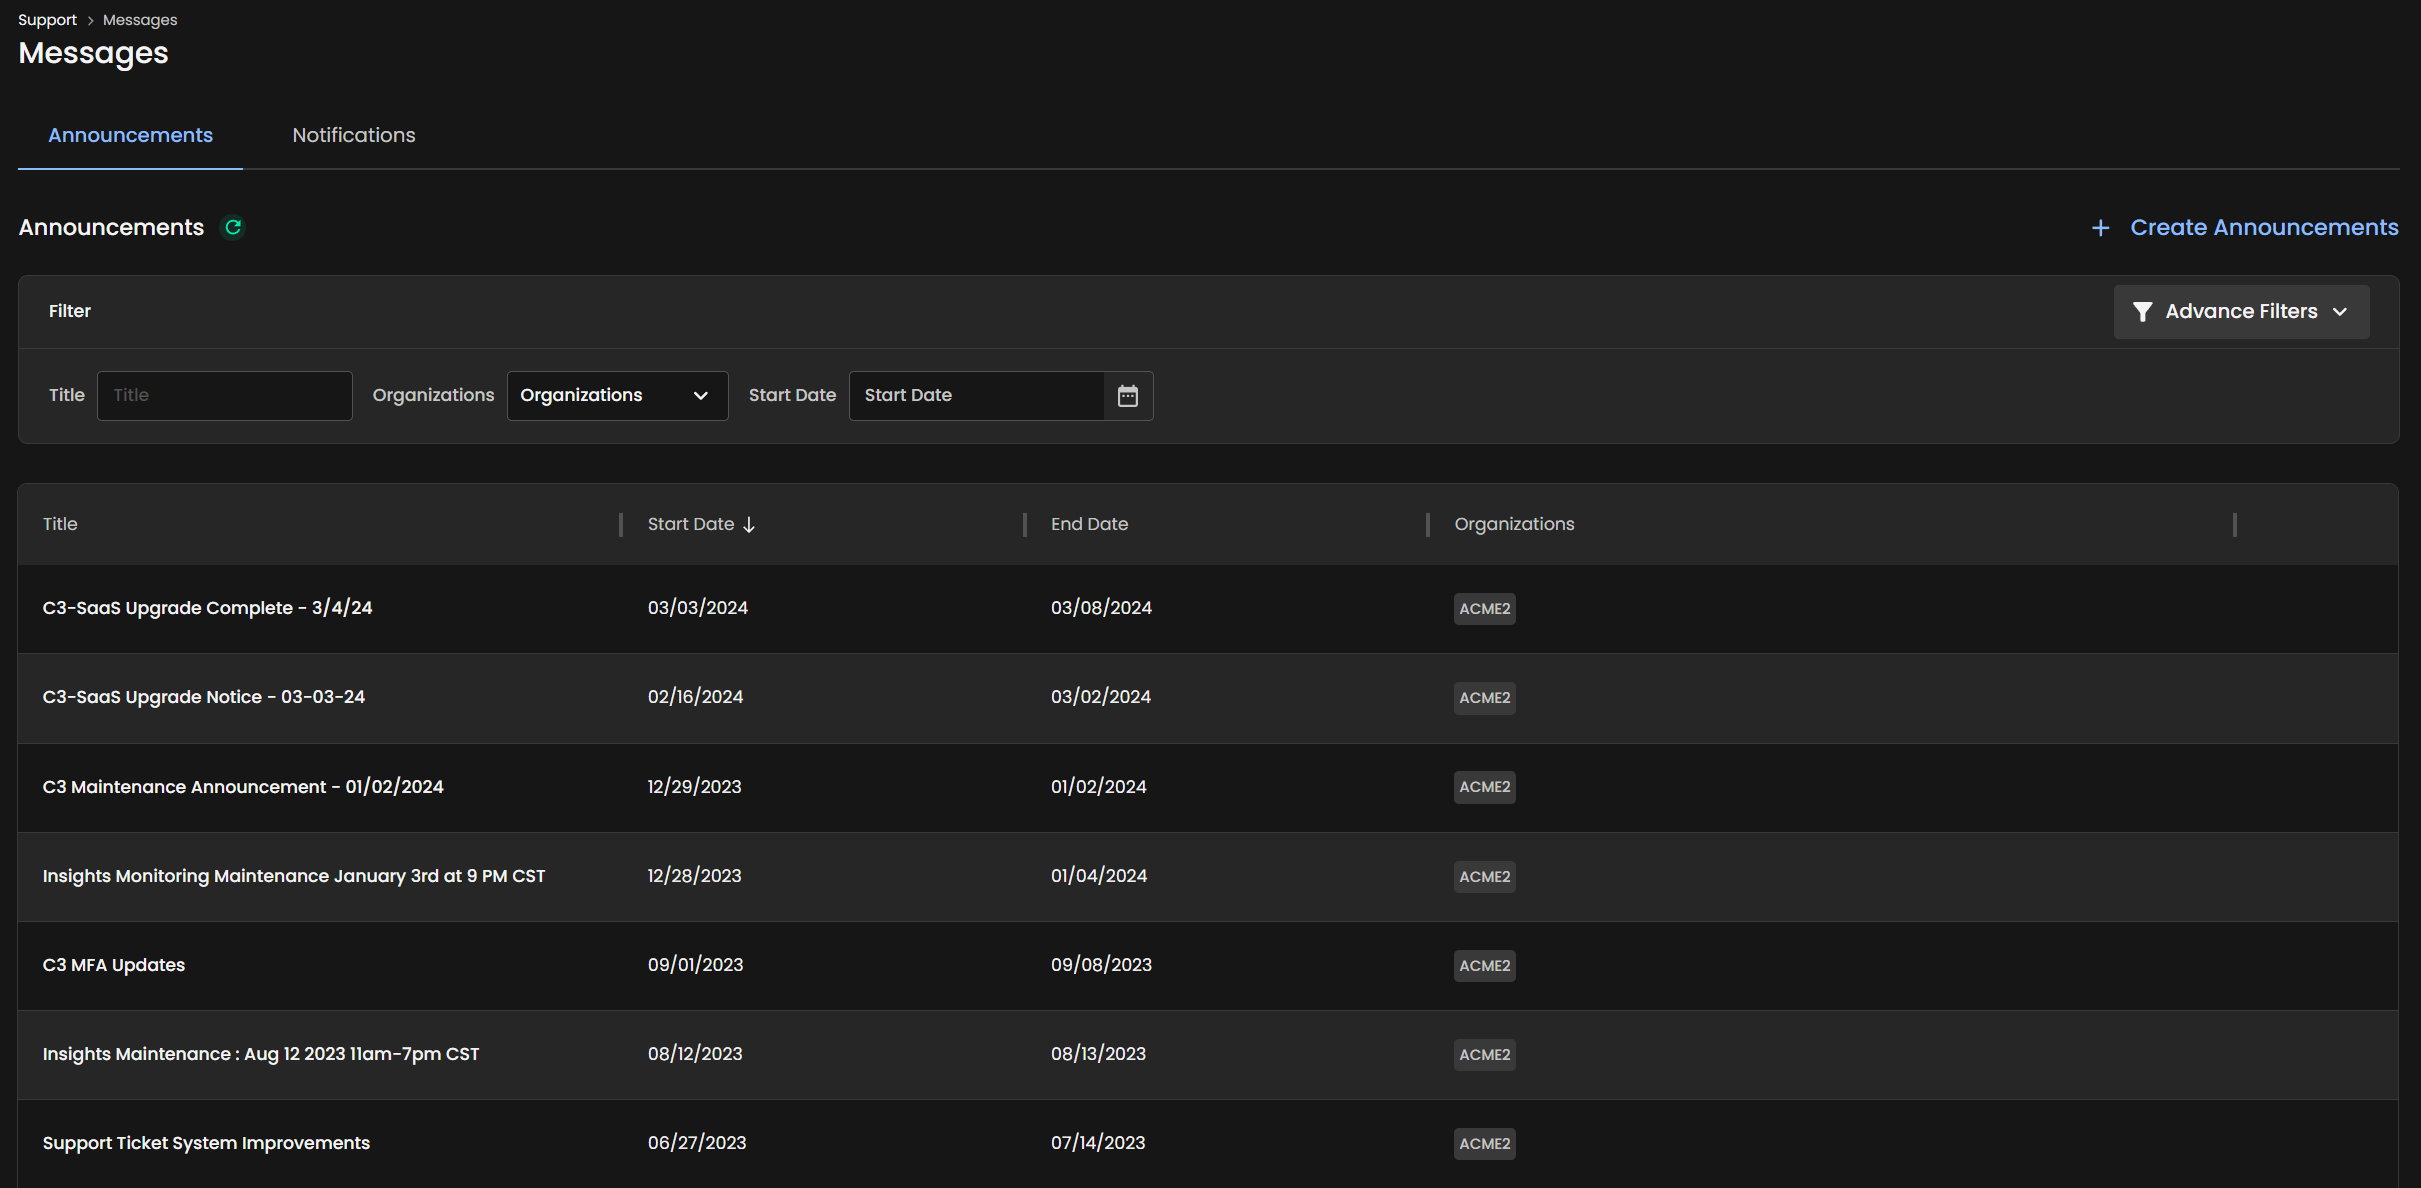
Annoucements can be made across multiple organizations that an organization admin has access to. As you can see in the image above, announcements can be searched and filtered by various criteria including title, associated organization, and date ranges. Admins can use the advanced filters dropdown menu to add additional filter options.
Create an Announcement
To issue a new announcement, start by clicking the blue + Create Announcements link located in the upper right corner of the page. This action opens a user-friendly editor window designed for crafting and publishing announcements. The interface provides a robust text editor with a rich text toolbar, enabling the incorporation of various formatting options to tailor the message to your needs. For more extensive or segmented communications, the editor also allows the addition of multiple pages to your announcement.
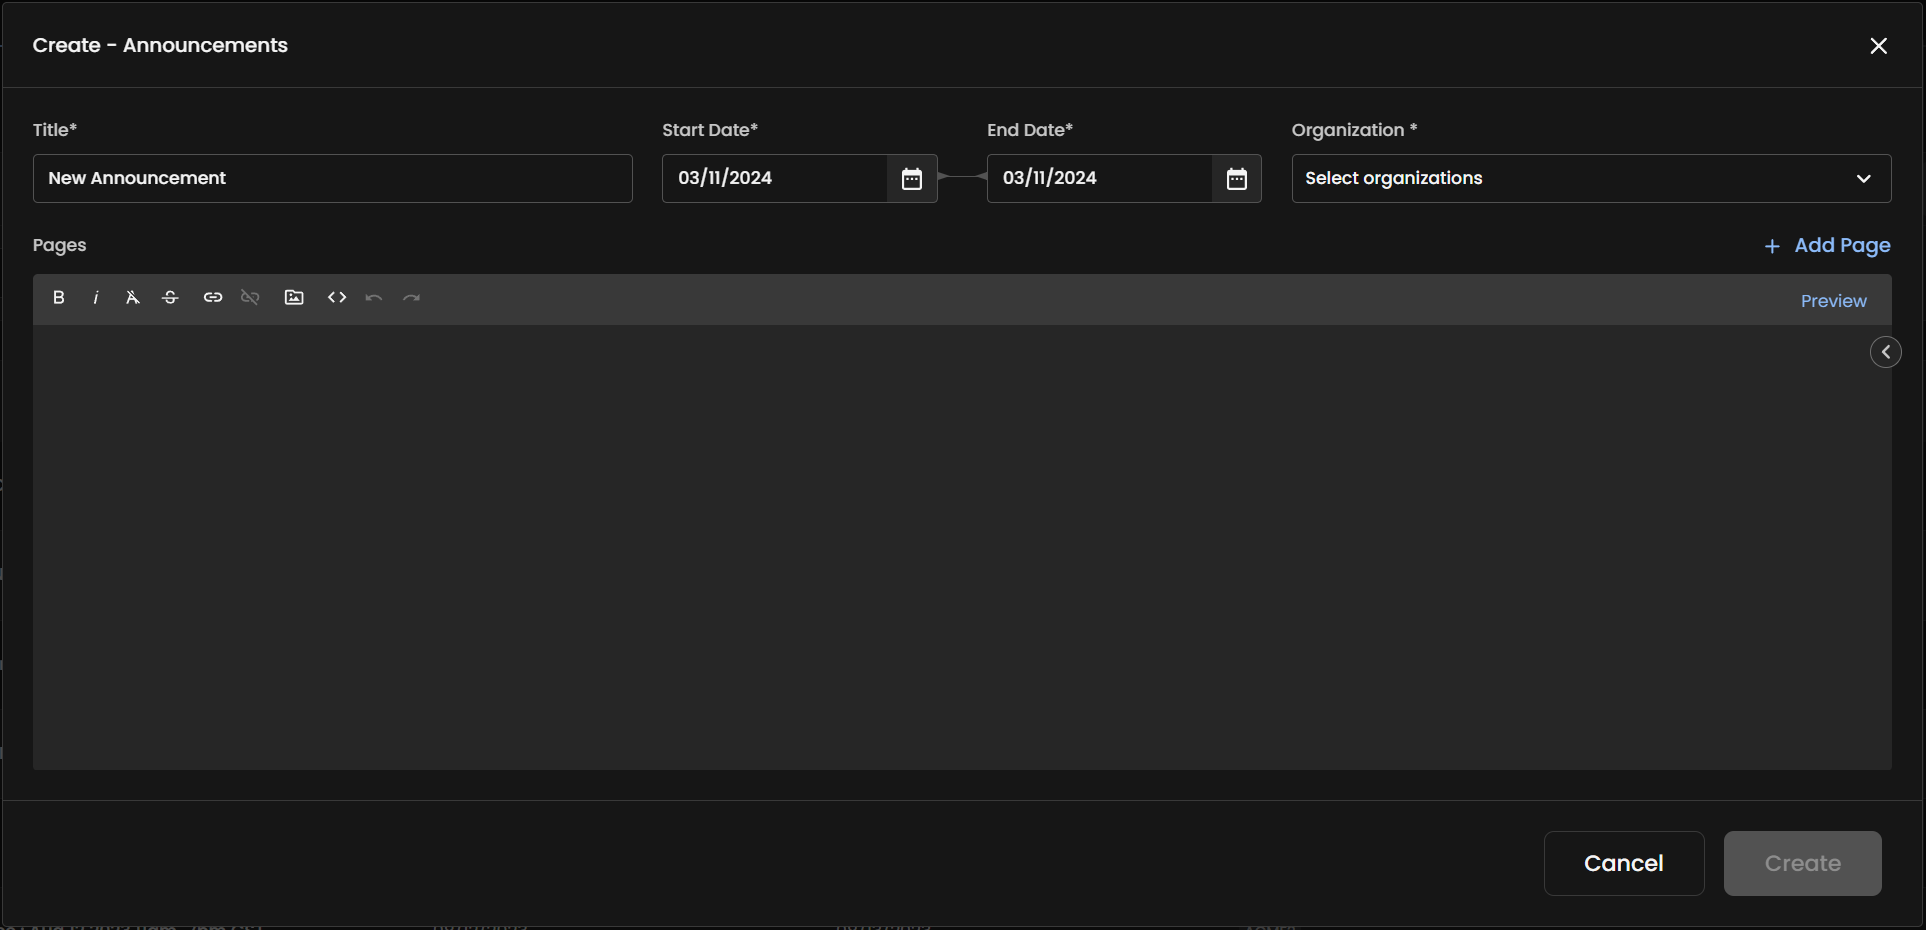
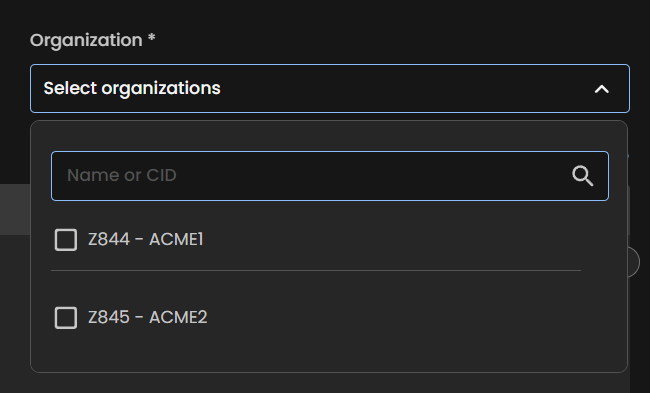
From the announcement creation window, Admins can edit fields for the announcement title, the start and end dates to define the announcement's display period, and use the dropdown to select the organization(s) to which the announcement should be visible.
Before publishing, there's a preview option to review how the announcement will appear, ensuring everything is correct. Once finalized, the admin can click Create to publish the announcement to the selected audiences.
Notifications
The Notifications tab in the C3-SaaS platform serves as a central hub for administrators to communicate timely, important information to users. Similar to announcements, notifications can be tailored and published to be visible within specific date ranges and to certain organizations. However, notifications are designed to be brief and direct, delivering essential information quickly and efficiently.
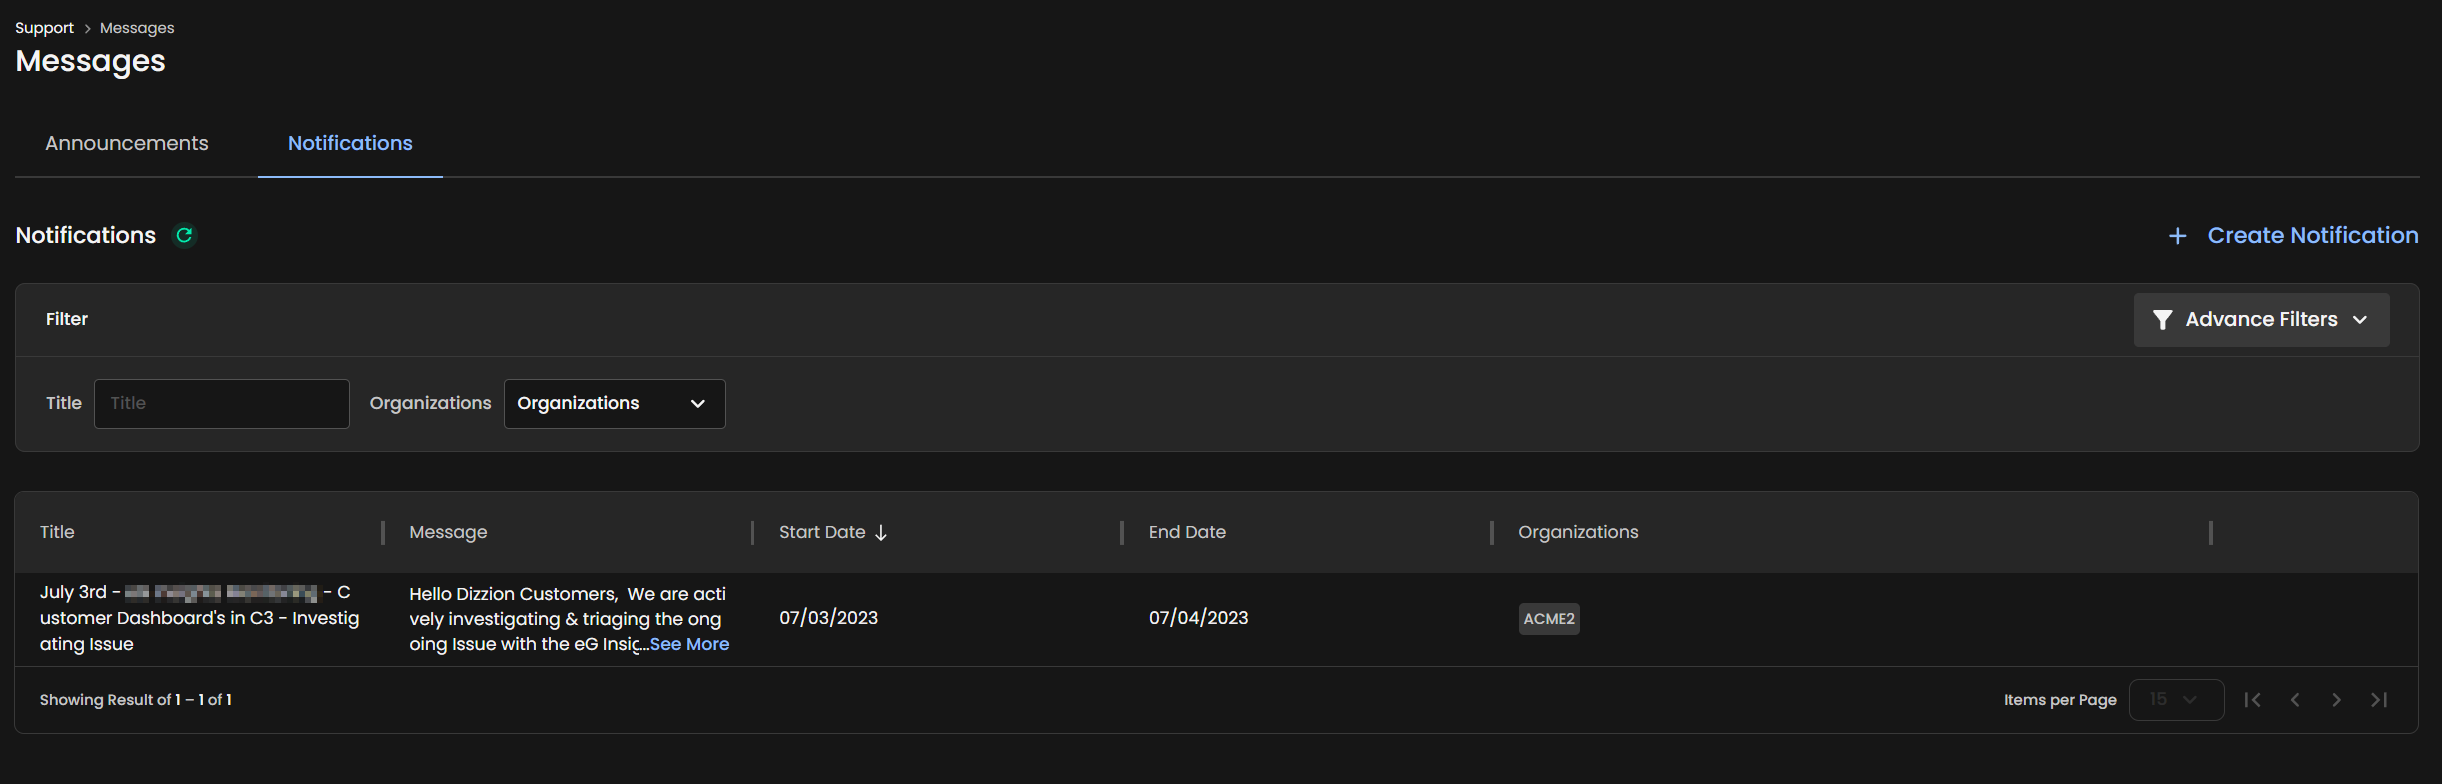
Within this tab, administrators have the ability to filter notifications by title or organization, making it easy to manage and locate specific messages. Administrators can see each notification's title, message preview, active dates, and the organizations they pertain to. Advanced filters offer further customization to help administrators navigate through a high volume of notifications. This ensures that all users stay informed about relevant updates and critical changes without being overwhelmed by extensive details.
Create a Notification
To create a new notification, start by clicking the blue + Create Notification link located in the upper right corner of the page. This action opens a small window with a simple interface:
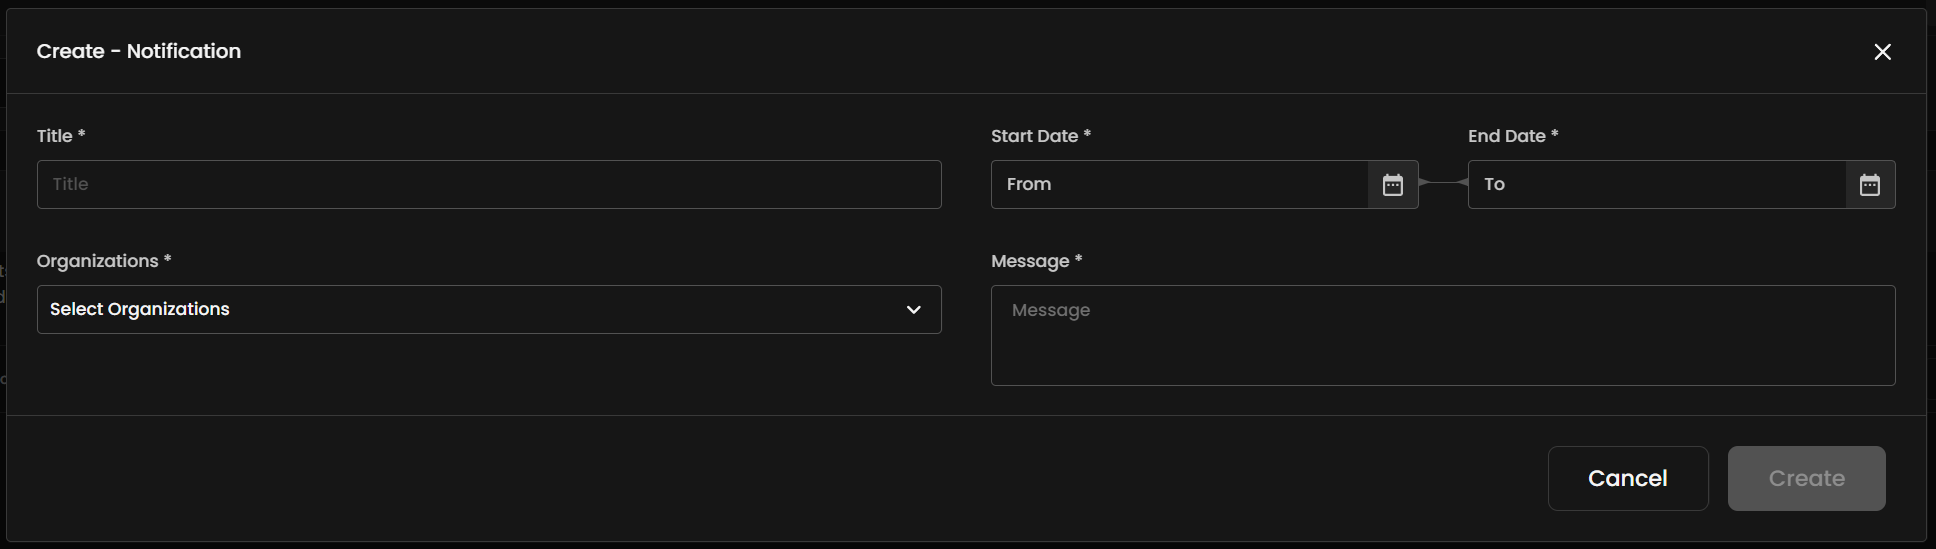
Input your notification title, designate the date range for this notification, select the organization(s) you want the notification to appear to, and then enter the content of the notification into the Message field. Once drafted, click the Create button.
Administration
Users
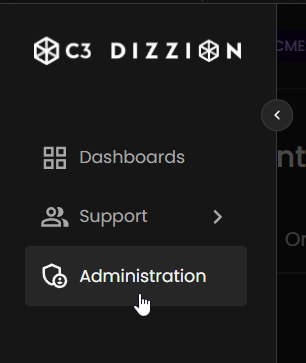
Organization Admins can add, delete, and modify users from the Users tab of their Tenant Control Panel, which can be accessed by clicking on the Administration option of the C3-SaaS sidebar:
The Users displays a list of users with essential details like their primary status (indicated by a star for primary contacts), first and last names, email addresses, associated organization names, and assigned roles within the system (User or Organization Admin). They can also click on the columns in the Users table to sort by specified detail.
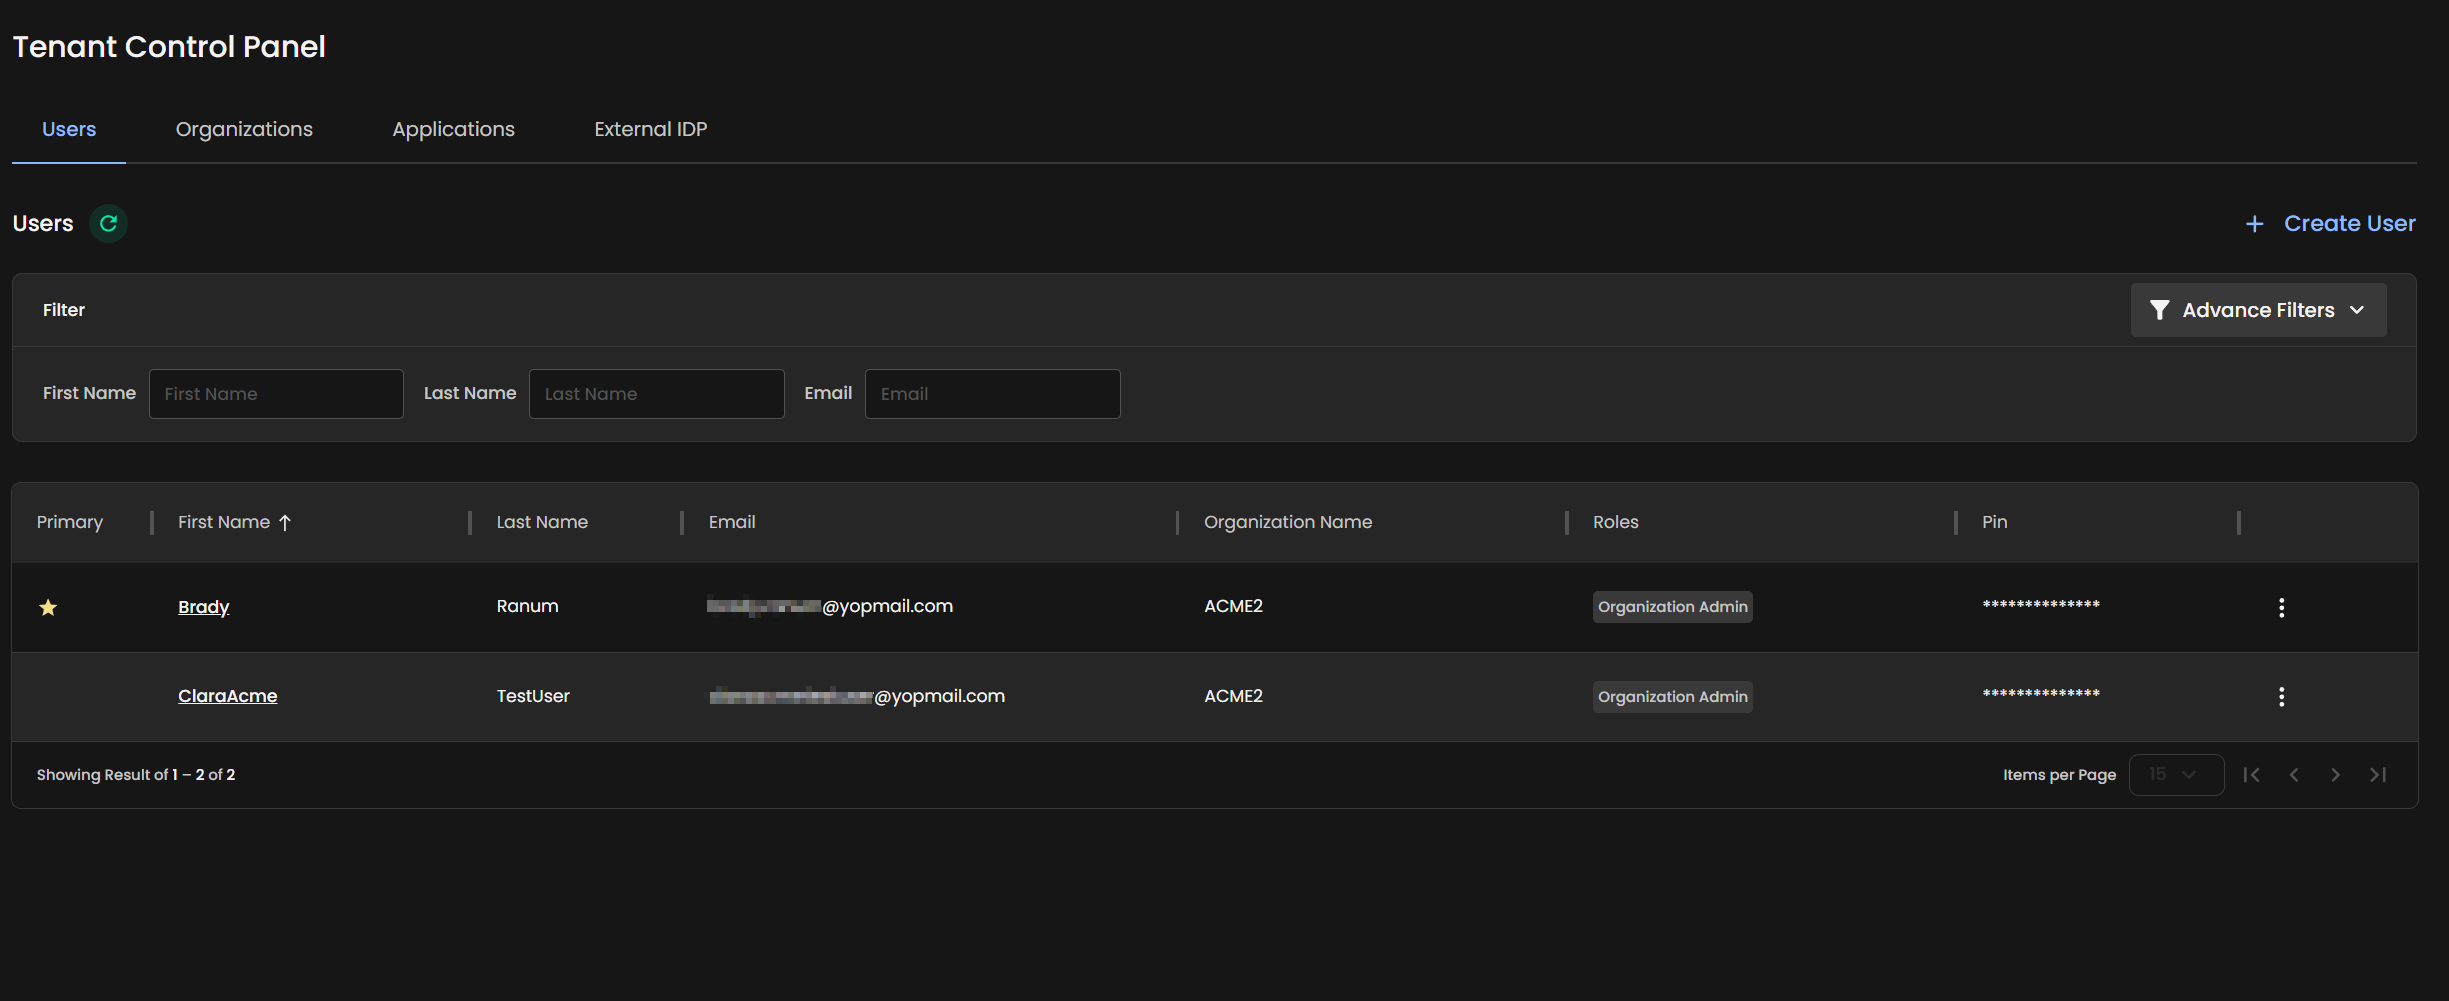
From this page, admins may use the filters provided to quickly find specific users based on criteria like name or email. Additional criteria can be added to the filters bar by selecting any of the options in the Advanced Filters dropdown menu.

Create a User
Organization Administrators can create new users by clicking on the + Create User link in the upper right corner of the Users tab. From there, a new form will appear:
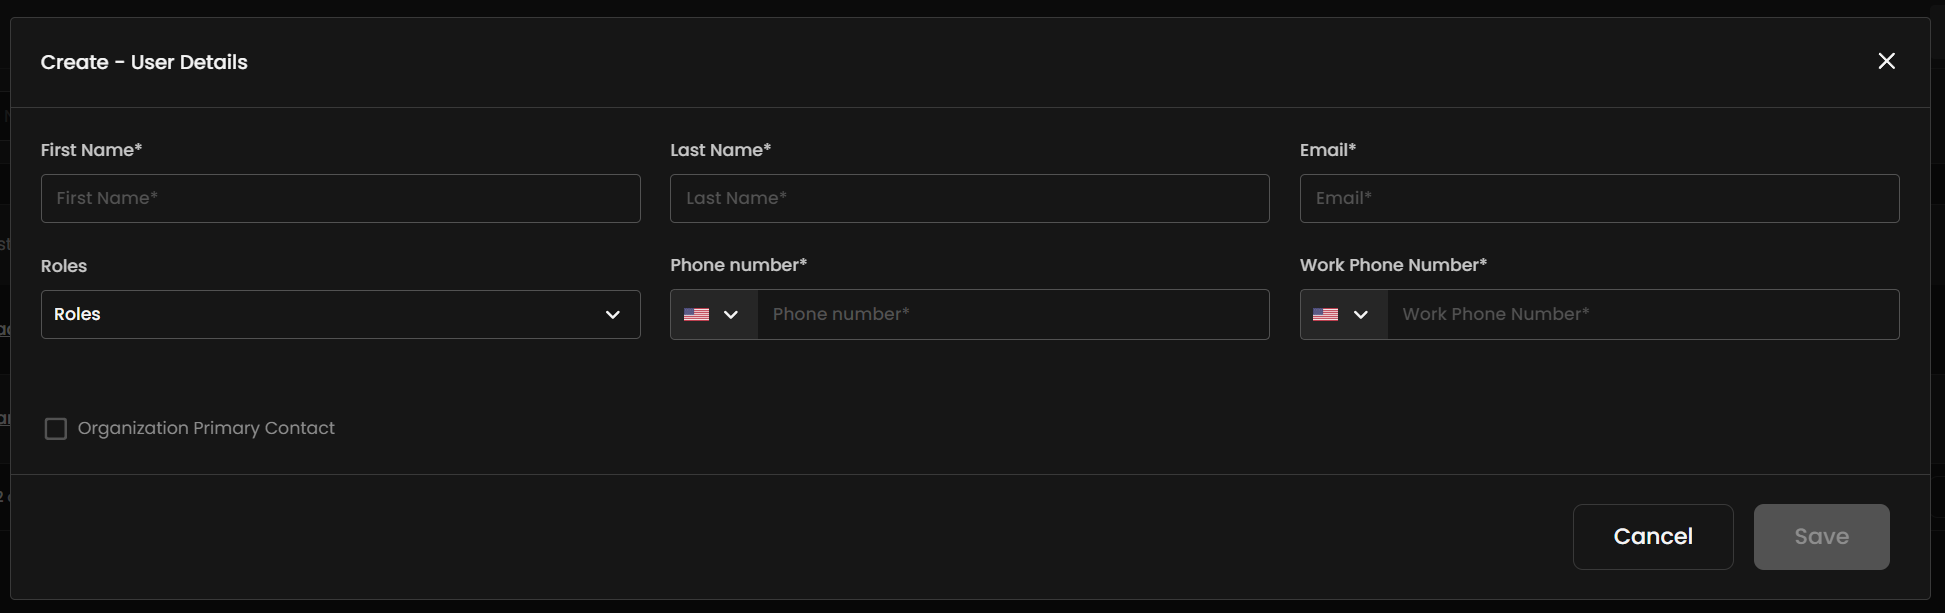
The form requires the admin to input essential information such as the user's first and last name, email, and phone number(s). It also provides a dropdown menu for assigning roles, which helps define the level of access and control the new user will have within the platform. The two role options are as follows:
Organization Admin: Organization Admins have the ability to perform administrative tasks for the organization. This includes approving scheduled maintenance, adding new users, and managing roles within the platform.
User: Users have the capability to launch applications and create or edit service requests. Beyond these actions, User roles are primarily limited to viewing access, providing essential operational capabilities without extensive administrative privileges.
Check the box in the bottom left corner of the form to specify if you want this user to be a "Primary Contact." Once you have filled out the form, you can click the Save button to create the user.
Manage Users
Administrators can click on the kebab menu to the right of the desired user to edit, delete, or send a new pin to the user's email address:

Organizations
Organization Admins can navigate to the Organizations tab in their Tenant Control Panel, which can also be accessed by clicking on the Administration option of the C3-SaaS sidebar. On this page, Organization Admins can view a list of their organizations, along with key details such as the organization's name, parent name, customer ID, identifier, type, status, and whether service requests are enabled for each organization.

Each organization entry provides contact information, including a mobile phone number, and identifies the partner name and customer success manager (CSM) associated with the organization. Additional columns, like CSDM, CPL, and MFA, offer further administrative details, such as customer service delivery manager name, compliance status, and multi-factor authentication status.
Create an Organization
Depending on your Dizzion use case, you may have the ability to create "child" organizations under your existing organization. To do so, navigate to the + Create Organization link in the upper right corner. A new interface will appear asking you for the information we discussed above. Enter the name and short name of the organization, and then select the Partner and Parent organizations from the dropdown menu.
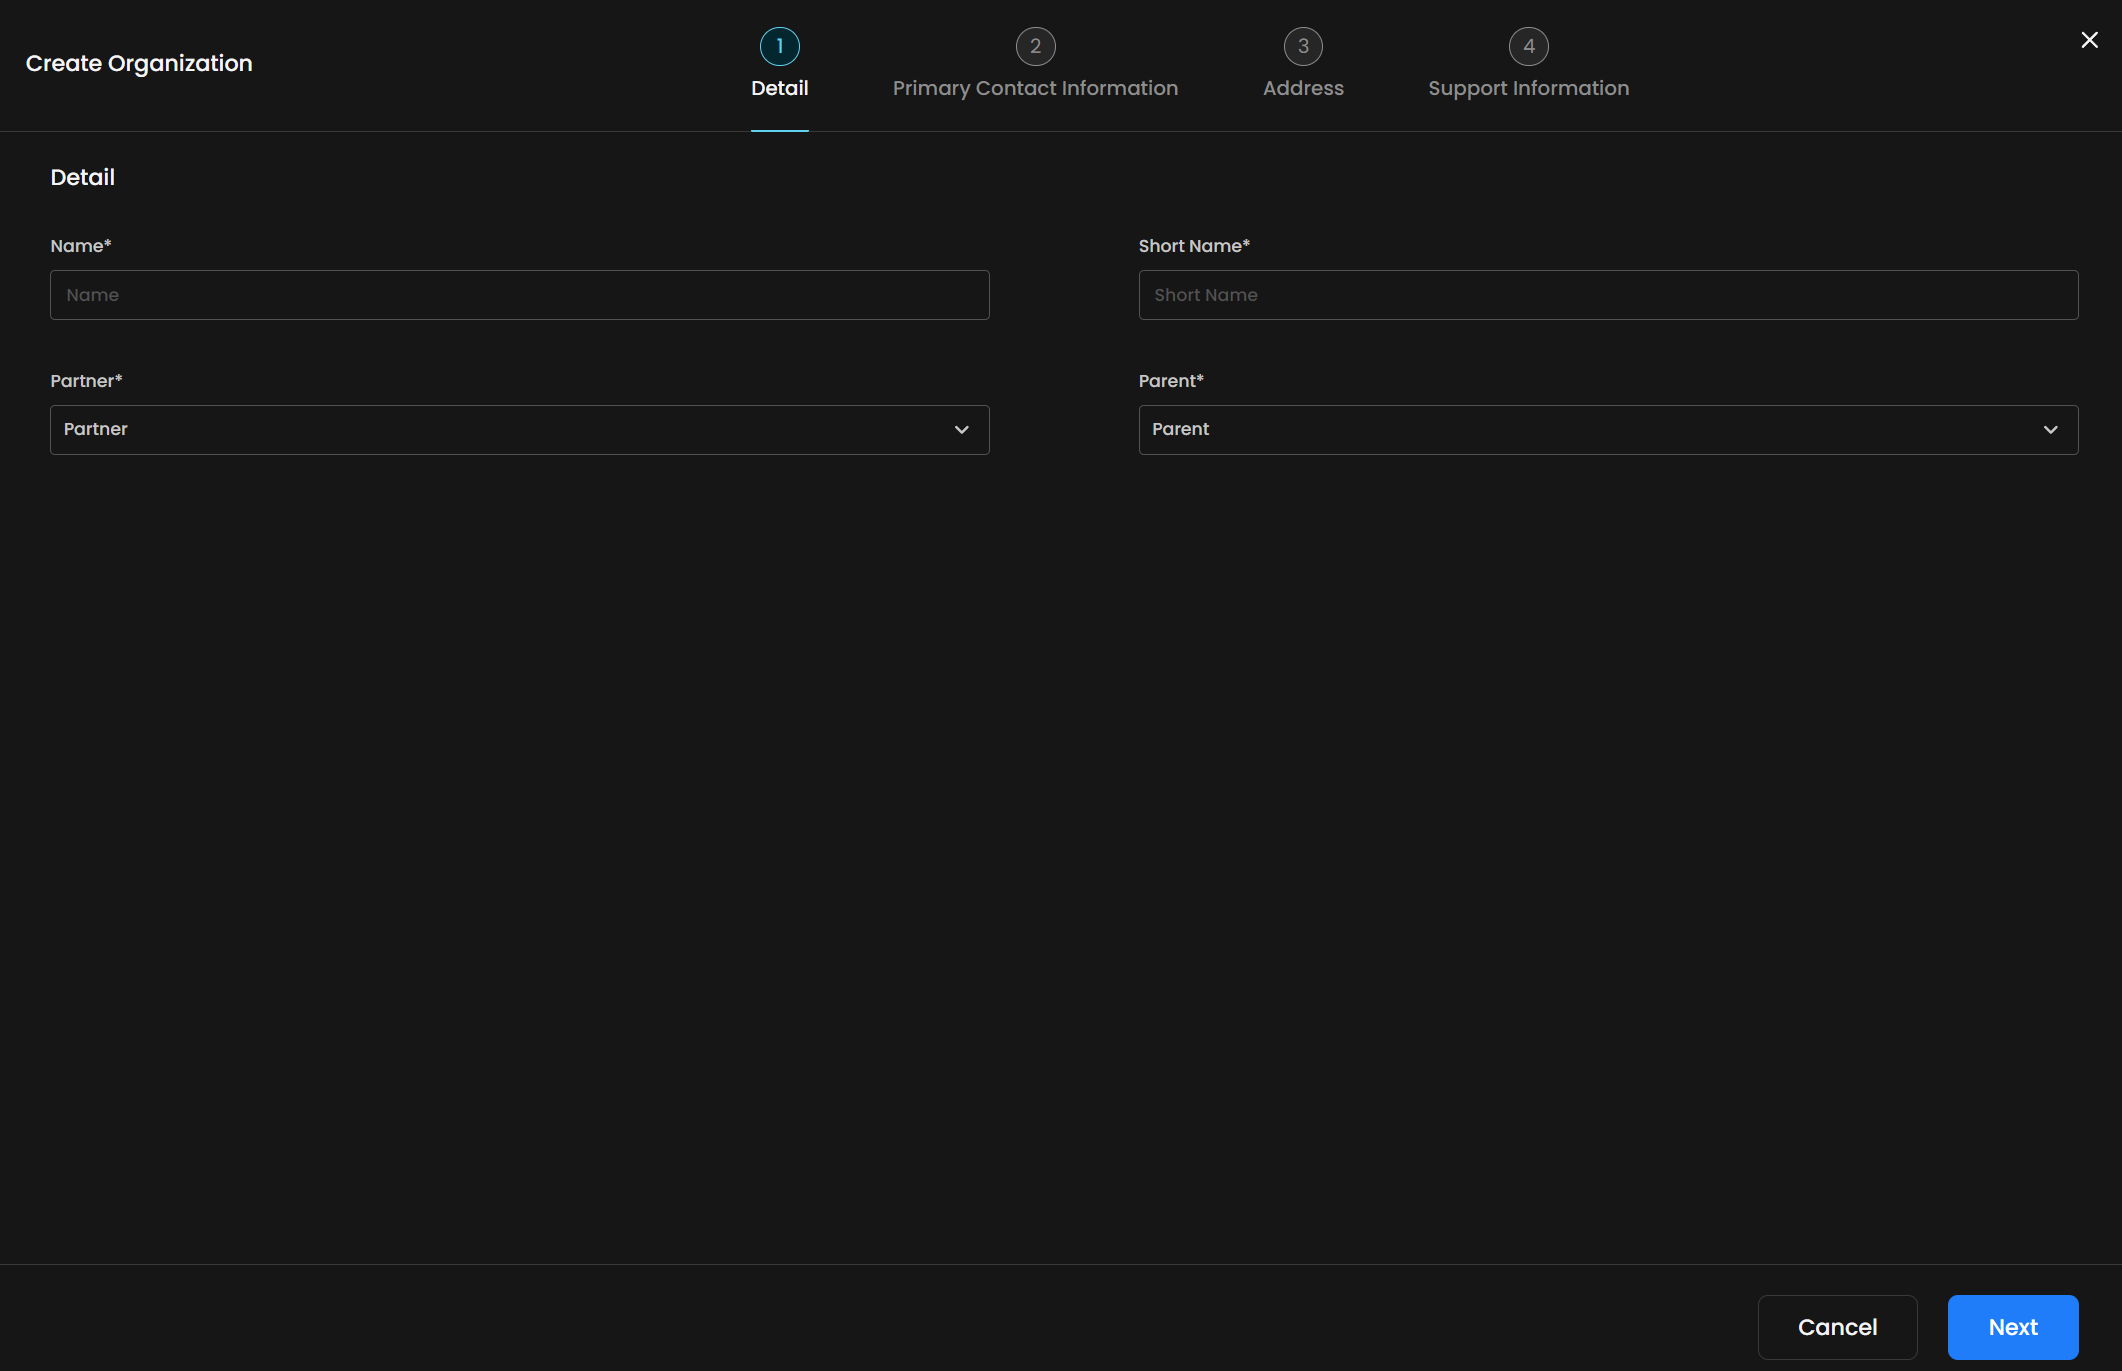
Click Next to continue to step 2 in the wizard. Finish adding all required details, clicking Next after each page is completed. Once complete, click Create at the end of the wizard. Your new organization will appear in the list on the Organizations tab.
Manage Organizations
Organizations can be easily managed by clicking on the kebab menu icon adjacent to the desired organization you wish to modify:

As shown above, administrators can delete, edit, and view the contract of an existing organization from this menu.
Applications
The Applications tab of the Administration page provides direct access to your suite of applications, including Insights Dashboards for analytics, monitoring tools for oversight, and administrative consoles for managing your environment.
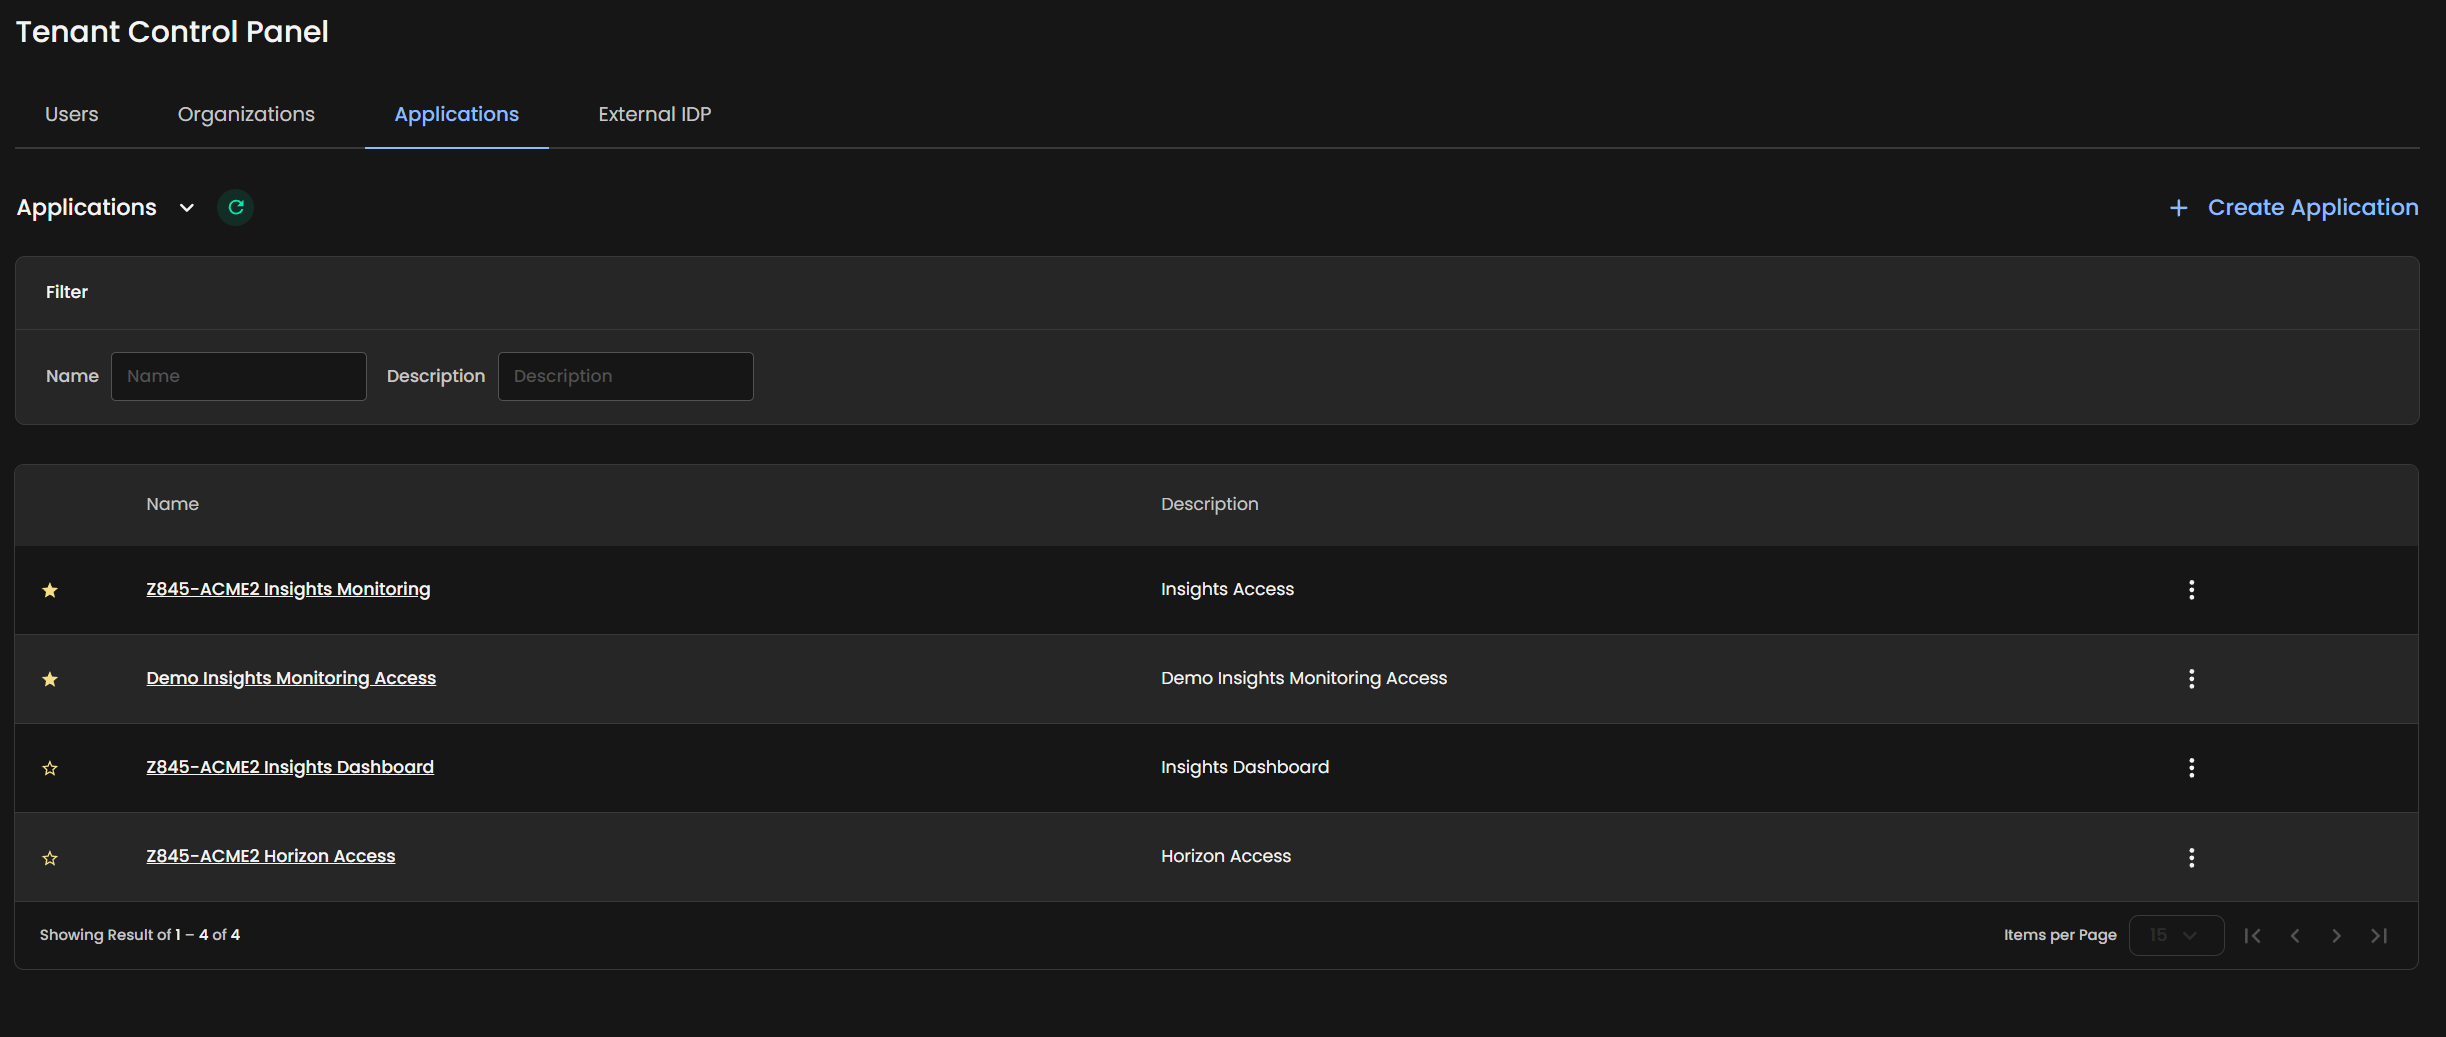
Each application entry displays the name, which is a link to the application itself, a brief description of the application, as well as the option to favorite any applications as desired. As with other tabs in this section of C3-SaaS, applications may be filtered and sorted as desired.
Create an Application
If you would like to add an application to be accessible from this page or from your Dashboard view, simply click the + Create Application link in the upper right corner of the page. A new dialog will appear:
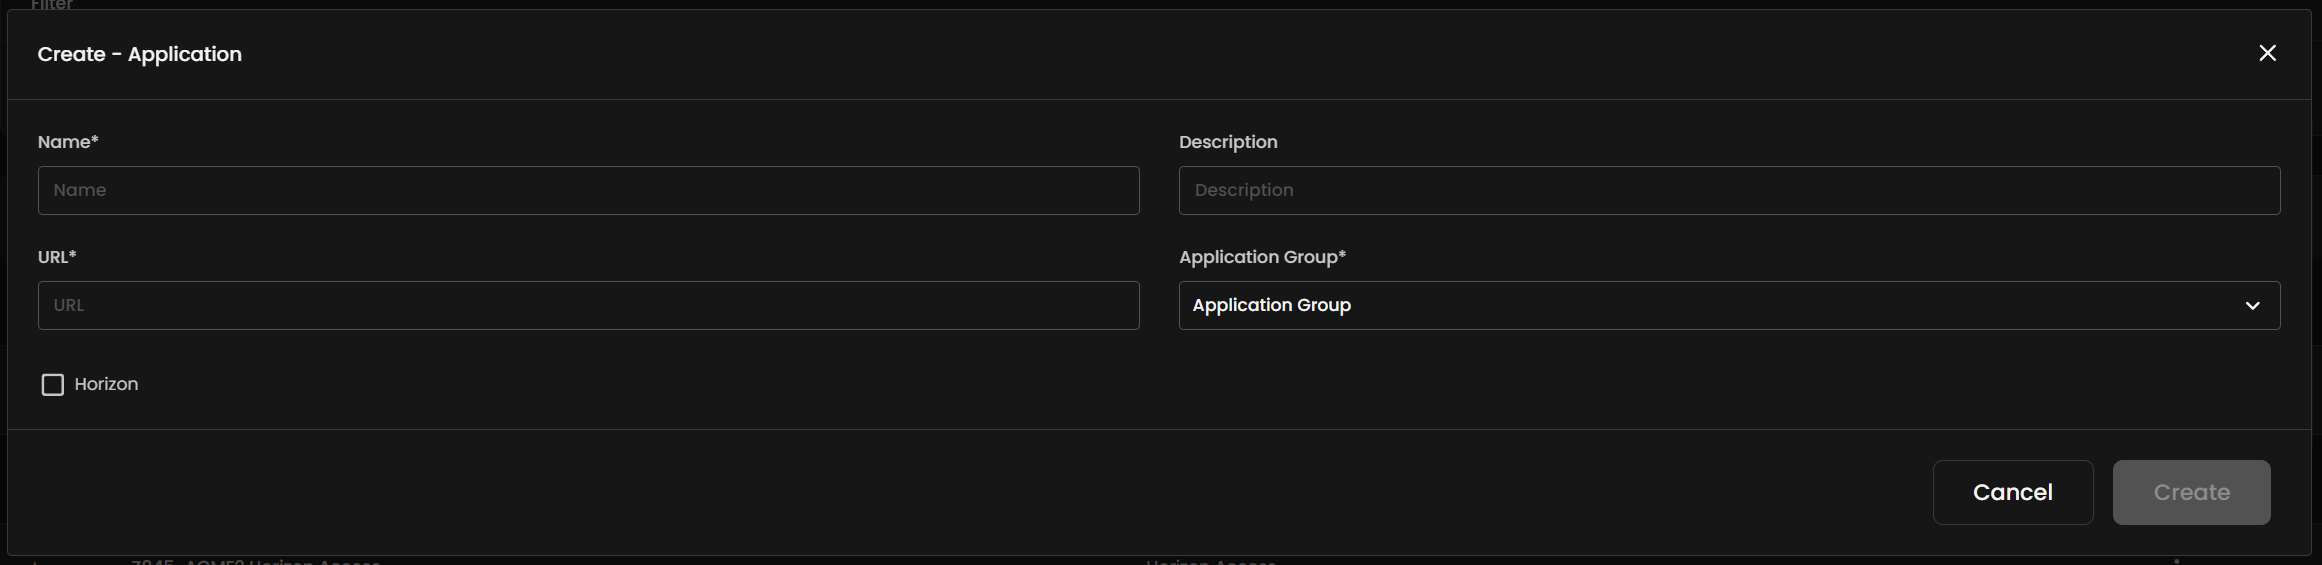
You'll be prompted to enter the application name, a brief description, the URL to the application, and lastly asked to select the application group this application will belong to. Once complete, click Create.
Your new application will appear in the Applications table immediately.
Troubleshooting
If you run into any issues with your C3-SaaS environment or have additional questions, please reach out to your Dizzion CSM, CSDM, or contact us via service request.