Keyboard Profiles
Customers who need to map custom keyboard shortcuts on their end users' local device to keyboard shortcuts or actions within Frame sessions can use Frame's Keyboard Profile feature. Keyboard profiles consist of custom keyboard shortcut mappings that can be configured for a given keyboard language. Keyboard profiles are defined within Session Settings and can be applied at the account level and/or for a specific Launchpad, based on the needs of your end users.
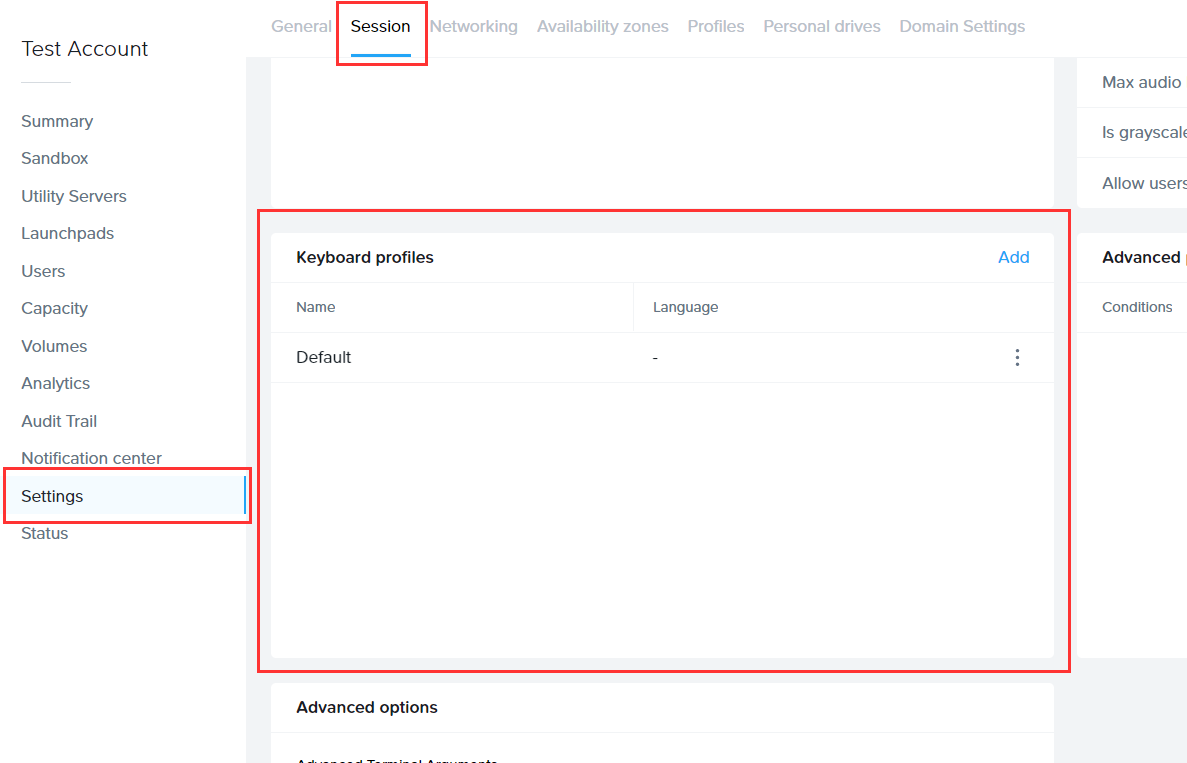
Administrators can view, add, and modify keyboard profiles by navigating to the “Settings” page of the desired account and clicking on the “Session” tab or by navigating to a Launchpad and clicking on the kebab menu to reach "Session Settings".
Add a Keyboard Profile
- If you would like to create a new keyboard profile from scratch, simply click on the blue “Add” link in the upper right corner of the “Keyboard profiles” section

- Select the language of the endpoint devices and enter a name for your new profile. In this example, we will select the Serbian language and name our keyboard profile accordingly since the Windows OS in this account Sandbox has been configured to use Serbian as the default language. You can define multiple keyboard profiles, each corresponding to a specific language, as configured in your Frame account Sandbox.
The operating systems in the tabs correlate with the user's endpoint operating system. For instance, if your users are accessing Frame/Frame App from Windows and macOS machines, you will want to specify your custom keyboard mapping under both the "Windows" and "macOS" tabs.
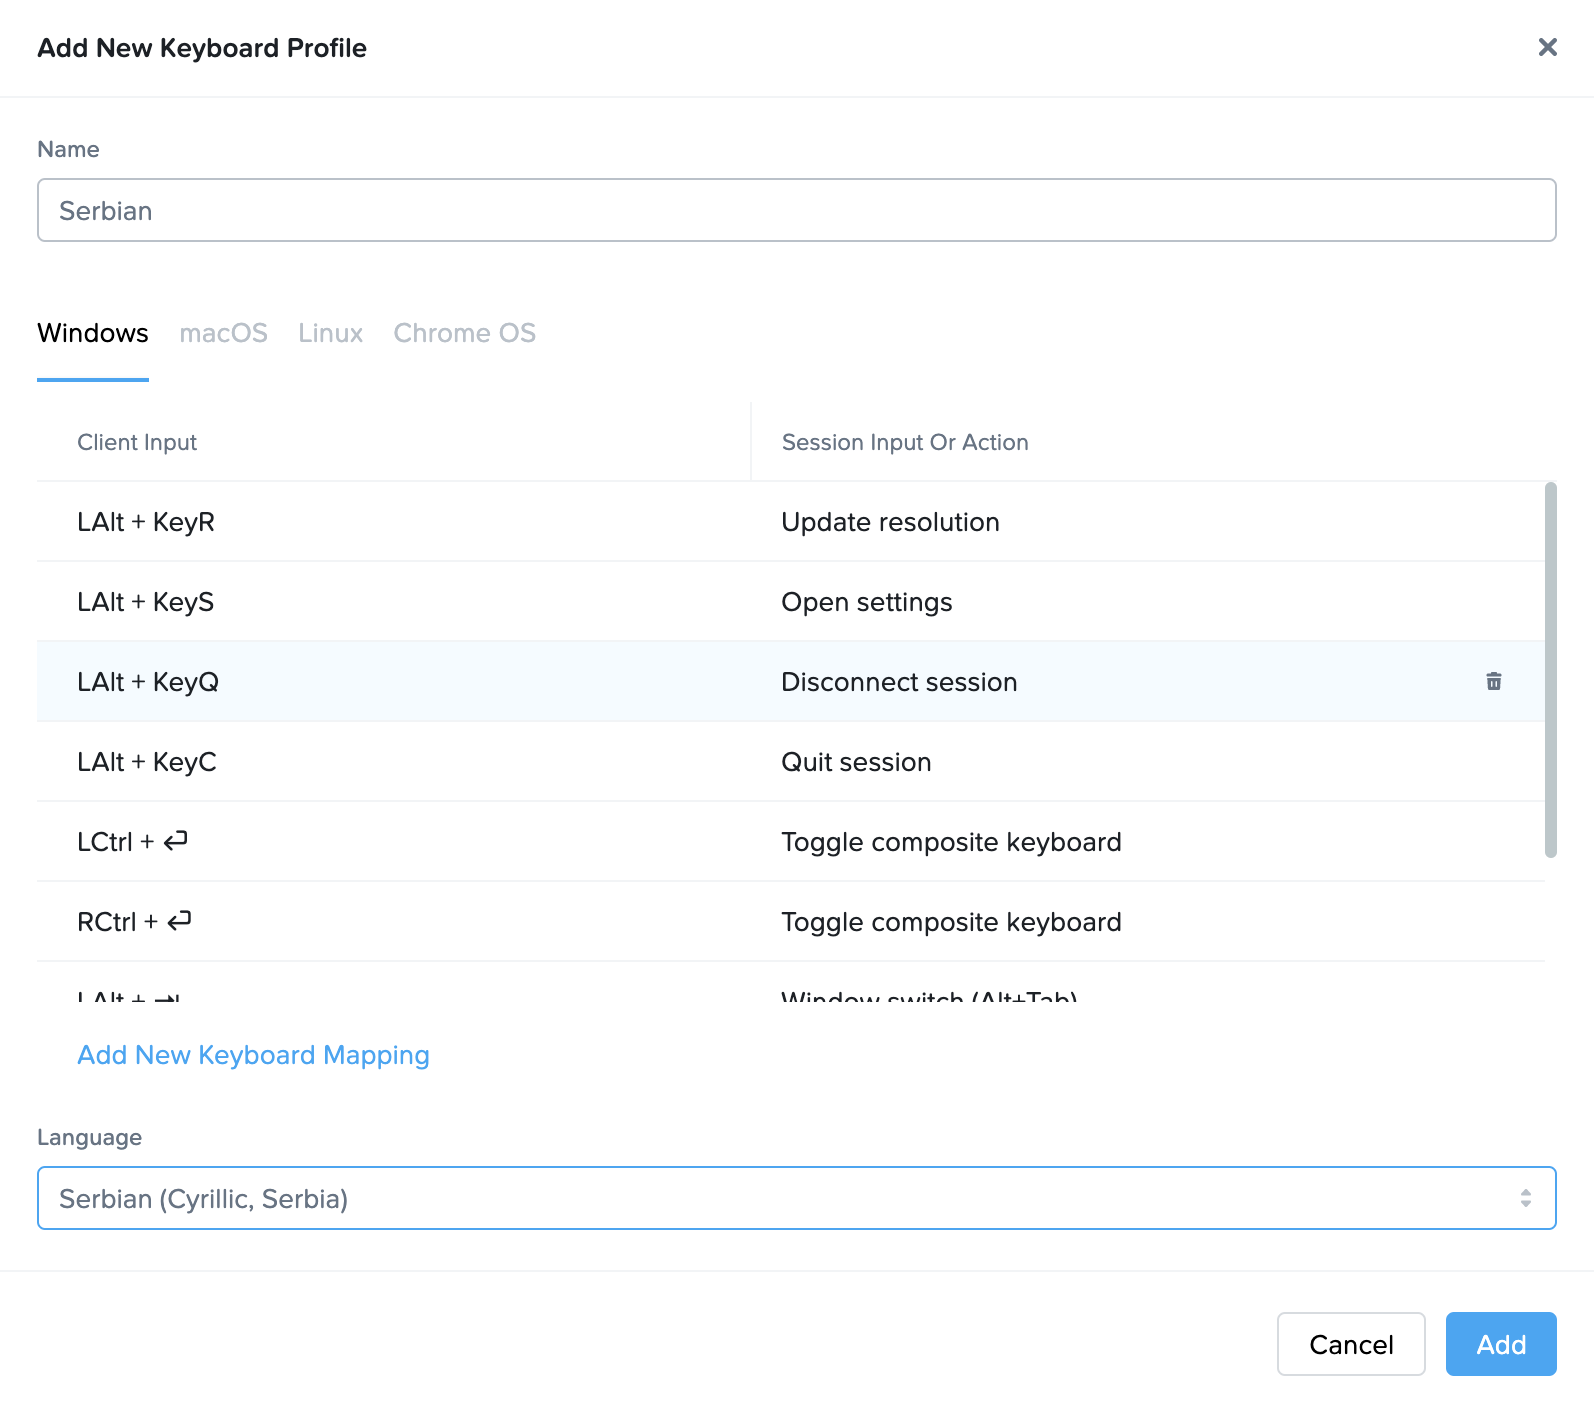
- If you already know which custom keyboard mappings you would like to apply, you can move on to the keyboard mapping section. If not, you can simply click “Add” to create your new keyboard profile and add/edit the keyboard mappings later.
Edit a Keyboard Profile
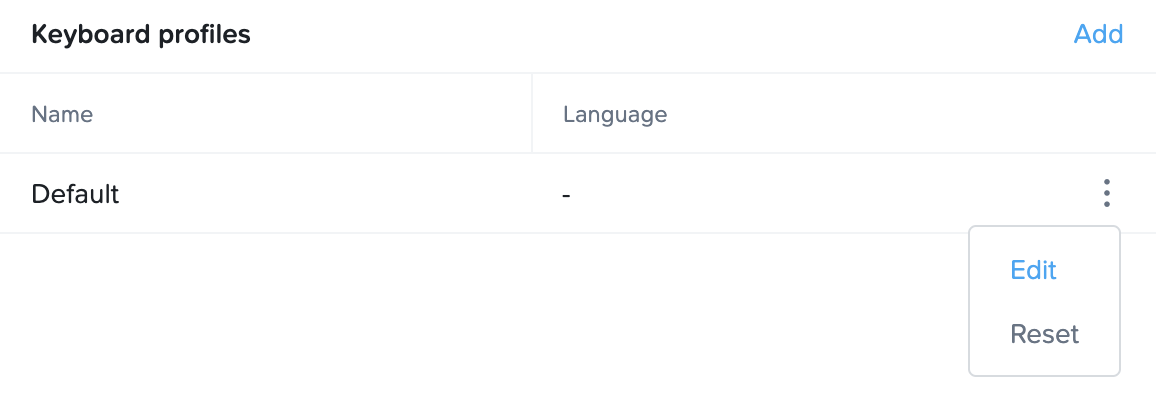
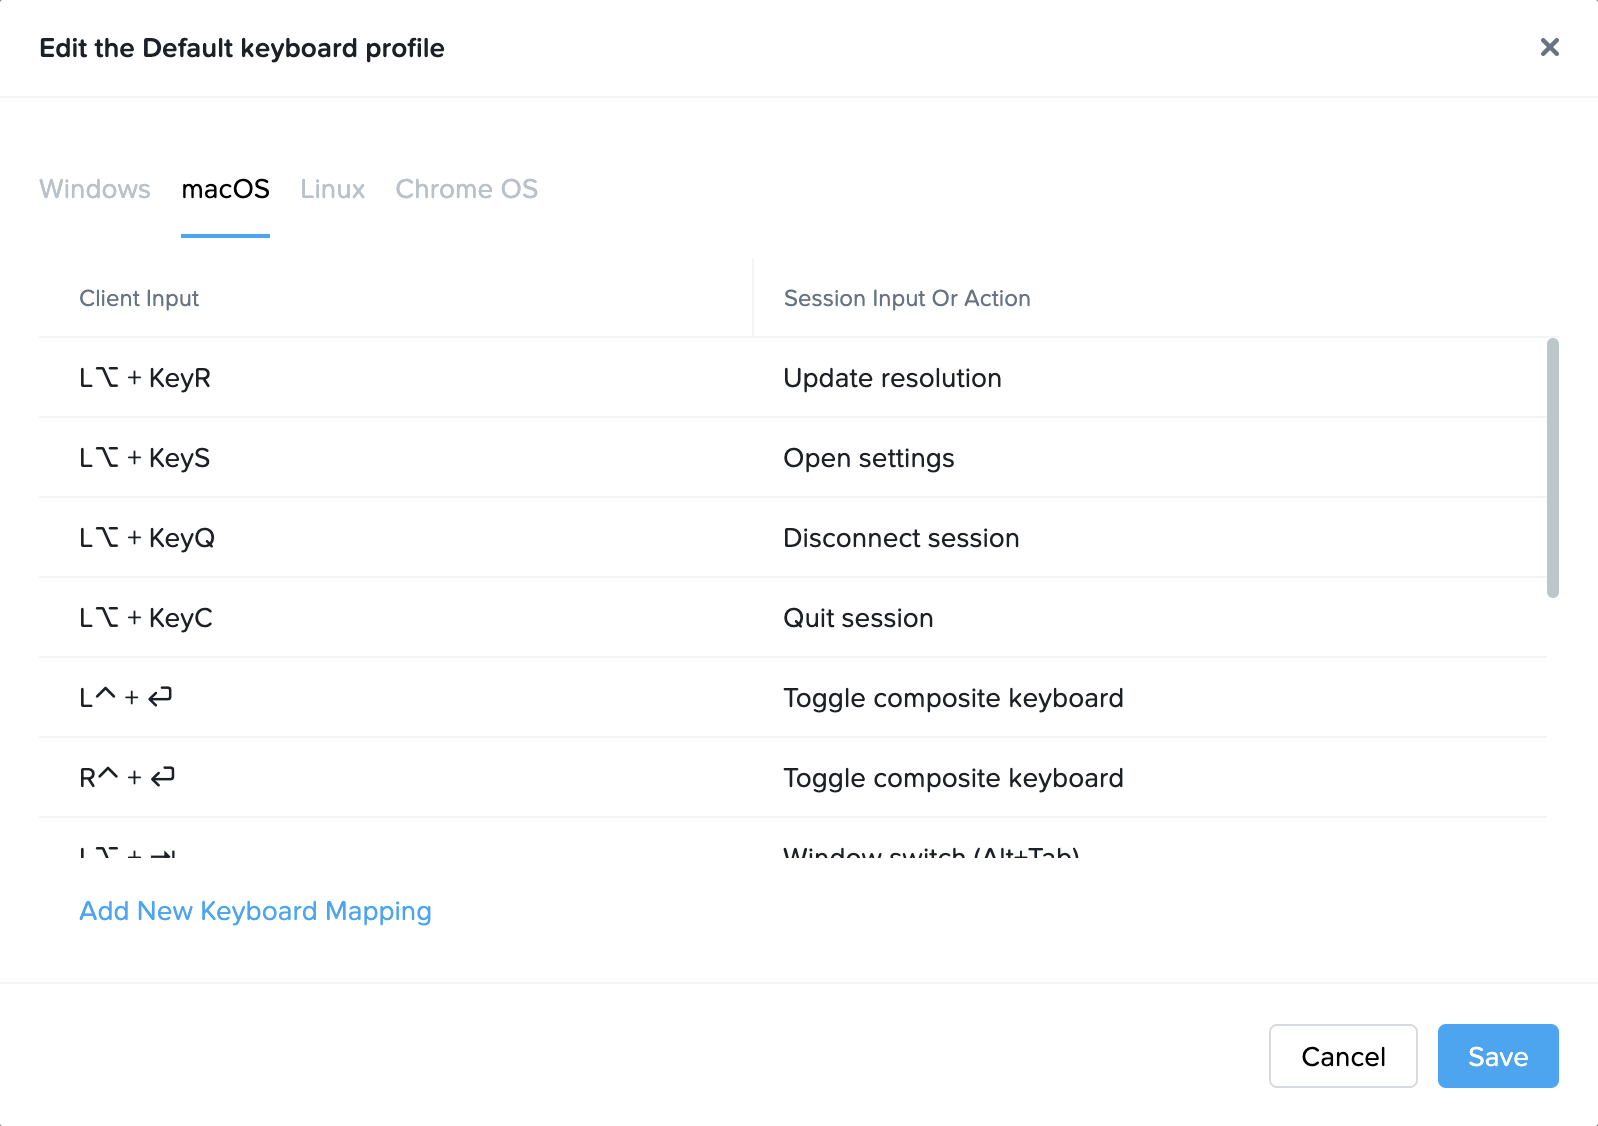
- Administrators can edit an existing keyboard profile by clicking on the kebab menu adjacent to the desired profile and selecting “Edit.”
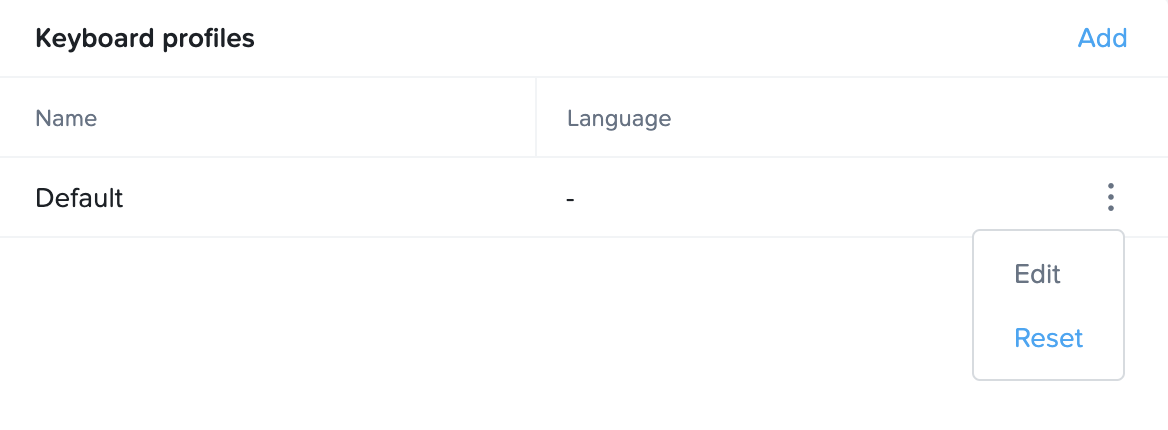
You can edit your default keyboard profile for your account as desired; however, the default keyboard cannot be deleted from the account. If you would like to reset the default profile back to its original state, simply click on the adjacent kebab menu and select "Reset."
Add a New Keyboard Mapping
New keyboard mappings can be applied to existing or new keyboard profiles.
It is important to note that some key combinations will not work in Frame Terminal or Frame App simply because they are intercepted by the endpoint's operating system (OS) or browser.
For instance, CTRL + ALT + DEL on a Windows-based endpoint would not be passed into a Frame session because that key combination would be intercepted by the Windows OS. Similarly, CMD + P would be intercepted by the Safari browser on macOS as a print command and would not be passed into Frame browser-based session. For this reason, administrators should use the operating system tabs to apply their custom key mappings for one or more of the four supported endpoint operating systems their end users might use.
- Start by adding/editing your keyboard profile (as shown in the sections above). Once you have opened the keyboard profile window, select the desired operating system tab and then click on the blue “Add New Keyboard Mapping” link. We will use macOS in this example.
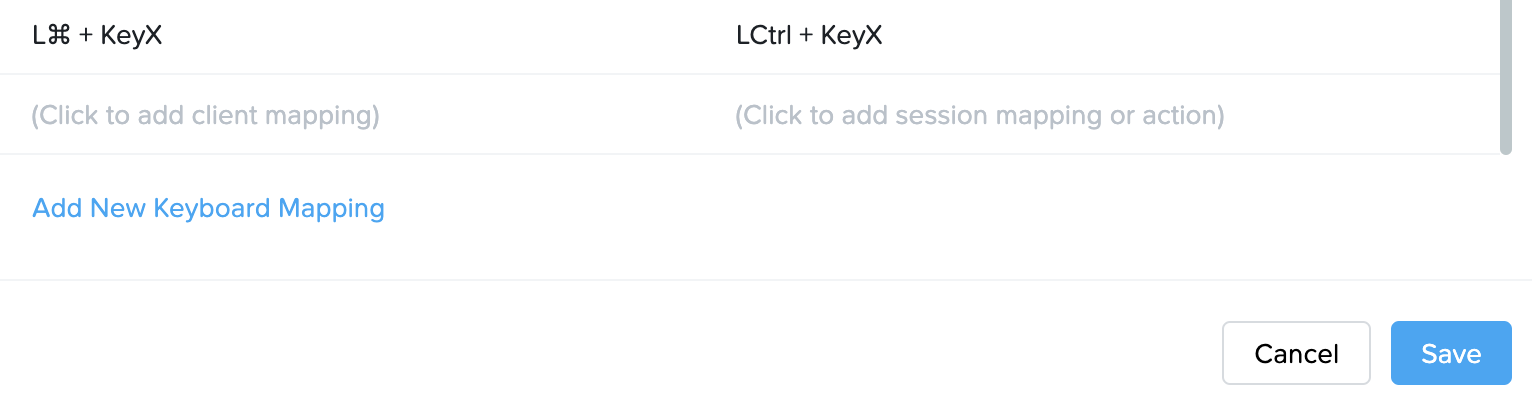
- A new line will appear at the bottom of the list of shortcuts:
- Click on the left side of the line to specify the client shortcut, as shown below. In this example, we're using the left command (⌘) key as our “modifier key” and entering the 4 key as our "shortcut key.”
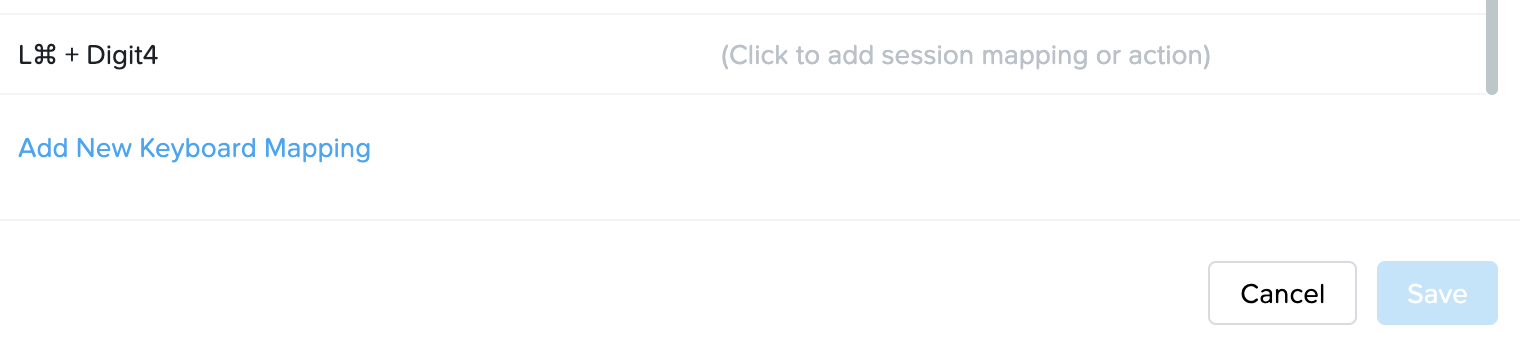
Click "Save" once you have specified the first portion of the key mapping.
Next, click on the right side of the line to add the corresponding shortcut/action that will occur when the keyboard shortcut is pressed on the client's endpoint.
- Shortcut: The first (shortcut) option can be used to designate a corresponding shortcut within the Frame session. For example, we could instruct Frame to interpret the left command (⌘) key combined with the 4 key as the left Windows (⊞) key plus the 4 key within the session. This could be helpful for users accessing Windows apps on Frame from a local Mac endpoint. Once you have designated the desired in-session shortcut using the buttons, click "Save."
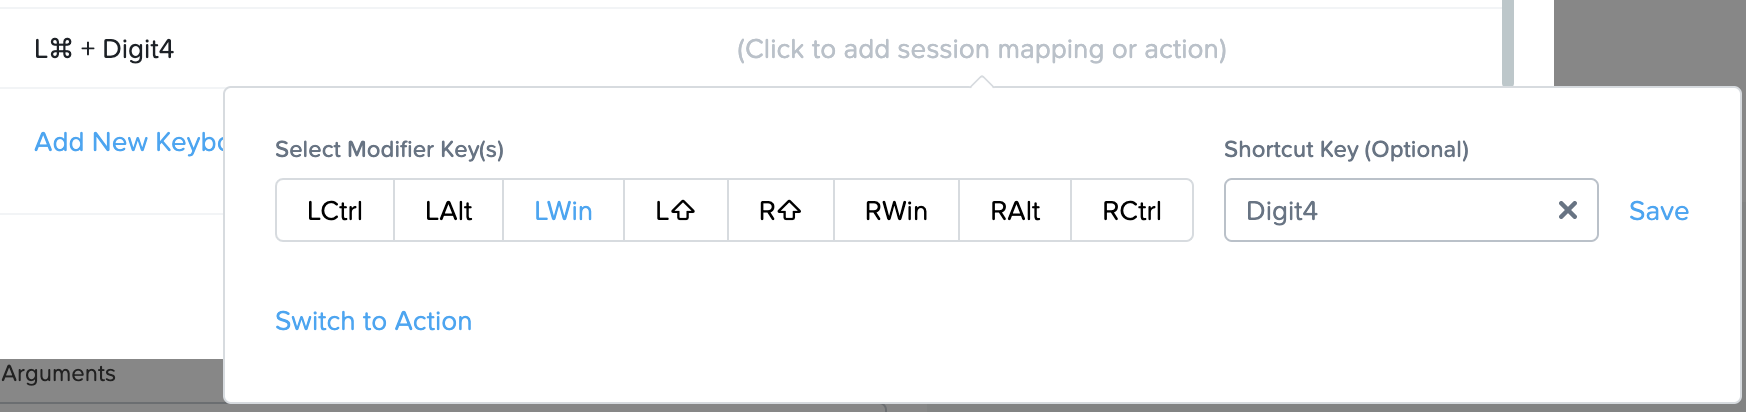
- Terminal action: Select the blue "Switch to Action" link if you would prefer your shortcut be tied to a specific Frame terminal action. For this example, we will use our key mapping to open terminal settings within the Frame session. Once you have selected the desired action from the drop-down menu, click "Save."
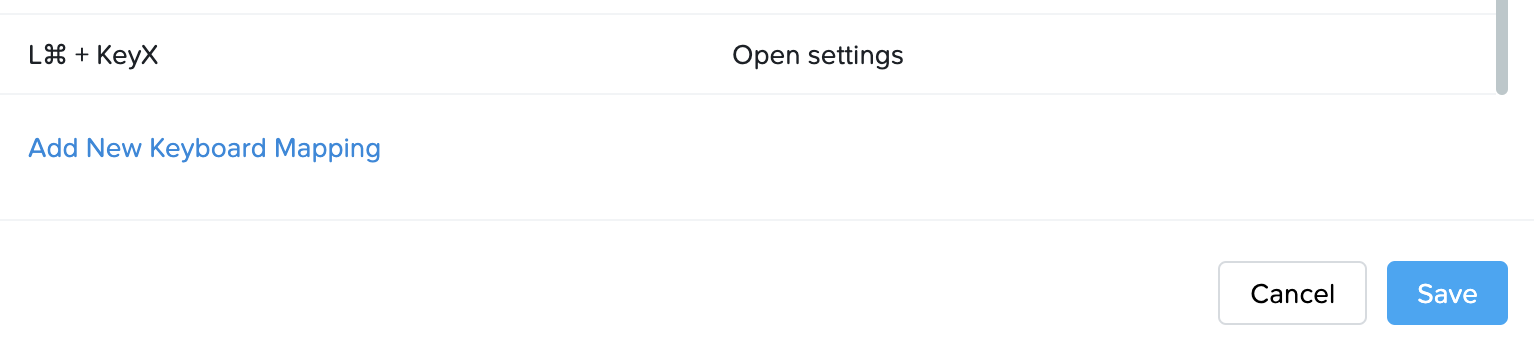
- After adding your desired key mappings under the appropriate operating system tabs, click "Add" (if this is a new keyboard profile) or "Save" (if this is an existing keyboard profile) in the bottom right corner of the window to apply the changes to your keyboard profile.
Delete a Keyboard Mapping
- To delete an existing keyboard mapping, simply click on the delete (🗑) icon adjacent to the mapping you wish to delete.

- Click the "Save" button in the bottom right corner of the window. If you accidentally deleted a keyboard mapping, simply click the
Any changes made to keyboard profiles will take effect after the next session start for end users. Administrators are not required to publish their Sandbox to see changes propagate to end user sessions.
Edit a Keyboard Mapping
- To edit a keyboard mapping, simply click on the component of the mapping you wish to change (the client shortcut or the remote shortcut/action) and modify as desired.

- Click "Save" when you are finished.

- Click "Save" when you are done editing the Keyboard Profile.
Troubleshooting
In the event that an administrator has correctly configured a keyboard profile and finds that one or more of their shortcuts is not working in the session, there are some tools available for Windows-based accounts to verify that the shortcut is passing through to the session from the local endpoint. If your Sandbox and workloads are running Windows, consider following the steps below before filing a support case. If you are using a different operating system, please reach out to our support team for help.
- First, download and run KeyboardStateView for Windows from NirSoft's website. This application displays the current state and virtual key code of every key you press and does not require any installation process or additional files.
NirSoft provides instructions and zip files for additional languages on their website. Dutch, French, German, Greek, Japanese, Portuguese, and many other languages are available for testing.
- KeyboardStateView will display every key that you press in the application's UI, even when the application is not in focus. If you want to view the state of all keys, simply turn off the 'Show Only Keys Pressed In Last seconds' option under the "Options" menu.
You can use this tool to provide more specific information to your Frame support personnel when creating a support case.