Install and Onboard Apps
In general, if you are planning to only deliver virtual desktops to your users, then onboarding applications is not required – simply install your desired applications to the Sandbox.
If you wish to make individual applications available to your users via an Application Launchpad, you will need to install and onboard each application. Onboarding an application for your users registers the application with the Frame control plane and prepares it to be shared as an individual application without the desktop being visible.
Once you have installed or updated your applications for either Desktop or Application Launchpad, you must publish your Sandbox to make the applications available to your users.
This guide will show Frame administrators the basics of installing, onboarding (if required), and deleting applications for their users.
When an Amazon Elastic Block Storage (EBS) volume is created for each AWS Elastic Cloud 2 (EC2) instance provisioned during the publishing process, Amazon does not copy all of the Simple Storage Service (S3) blocks of the underlying EBS snapshot into the EC2 instance's EBS volume. This allows the EBS volume to be used immediately. Any S3 blocks that are subsequently needed are then loaded into the EBS volume on-demand ("lazy loading"). This AWS-specific behavior can result in slower than expected application and file loading until the relevant S3 blocks are loaded into the EBS volume.
For customers providing virtual desktops using AWS infrastructure, Frame recommends administrators install and onboard applications in the Sandbox. The first time the EC2 instance is provisioned and powered on, Frame will start up all onboarded applications to force the applications' S3 blocks to be loaded into the EBS volume, in order to speed up application start up time.
Install and Onboard Applications
As a best practice, Frame recommends manually backing up your Sandbox before installing your applications. This backup allows you to quickly revert to a base OS image in the case of catastrophic image corruption. With Bring Your Own (BYO) image, you can reset the Sandbox image to a previously registered template image using the Reset master image feature.
The onboarding process only applies to executables (.exe files), scripts which launch executables, and shortcuts that point to executable files.
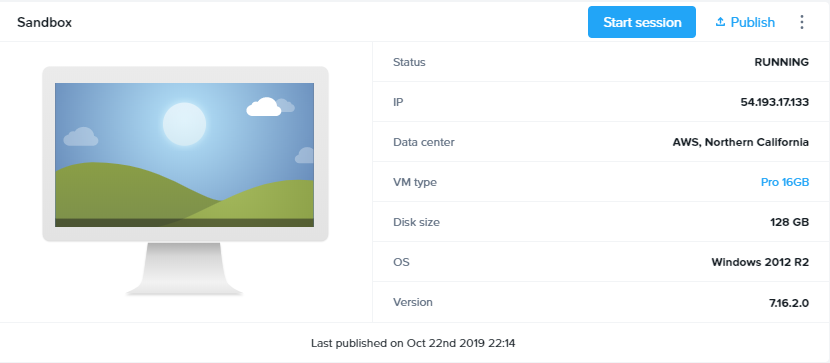
Go to the Sandbox page of your account's Dashboard. Click Power On to boot your Sandbox if needed (this takes about 2-3 minutes). When the Sandbox is available, click Start Session.
If your installer is available online, you can download it directly using the browser in your Sandbox (Chrome) – this will be the fastest method for large installers. If your installer is not available online, and you have it on your local machine, you can upload it to your Frame session from your local machine. Additionally, you can opt to connect your cloud storage account to your Frame account, which would enable you to see the files in a virtual drive in your Sandbox. You can connect your cloud storage accounts from the admin menu in the upper right corner (to the right of the Sandbox image) or from within your Sandbox session by clicking on the icons at the bottom right corner of your desktop session.
If you downloaded your installer using the browser in the Sandbox, simply launch the setup file from the “Downloads” folder. If you used a cloud storage account, navigate to “Computer” and open the appropriate drive (e.g., X: drive for Box). If you uploaded your installer from your local machine, you can access it by going into the “Uploads” folder.
ImportantCopy your setup file(s) from the original drive to the C: drive, and then run the installation of your app as you would on a PC from the local C: drive.
Looking to automate app onboarding?If you're interested in scripting and automating app onboarding, see Onboard applications via CLI.
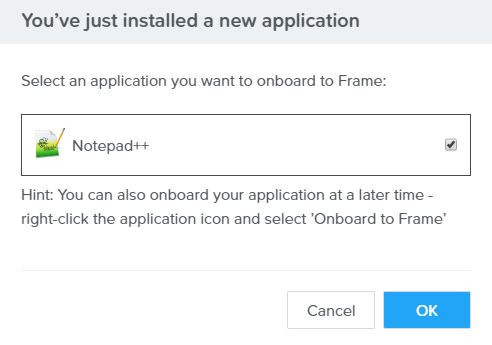
If you are planning to deliver your applications in an Application Launchpad, accept the Frame prompts to onboard your application. Frame automatically imports the application's icon during the onboarding process. Otherwise, you can click Cancel.
To manually onboard an application, simply right-click on the application in the program menu or directly on the application's .exe file in its install folder (e.g. in the “Program Files (x86)” or “Program Files” folder) and select “Onboard to Frame.”
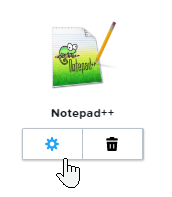
Test your application from within the Sandbox to make sure everything is functioning as expected (for instance, if you need to enter a license code/load a license file, do so now). If you onboarded the application, you can disconnect from your Sandbox session by selecting Disconnect from the gear menu. You will see your newly onboarded application as an application icon in your Dashboard next to your other onboarded apps. Set custom application properties by hovering over your icon and selecting the gear icon.
Delete Onboarded Applications
If you wish to remove a particular application from your users' Launchpad, you can do so easily from the account Dashboard by following the steps below:
Navigate to the Dashboard. On the Sandbox page of the Dashboard, look for the Applications section near your Sandbox. Hover over the application you would like to get rid of – you should see a gear icon and trash can icon, like this:
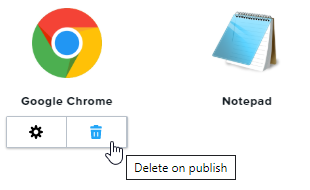
Click on the trash symbol to schedule the deletion of the application on the next publish. This means that your users will still see the application in their Application Launchpad until the next time you publish.
Uninstall an Application
If your application has been installed on the Sandbox and you want to ensure that your users are no longer able to access the application (especially if they are using a Desktop Launchpad), you must uninstall the application from your Sandbox.
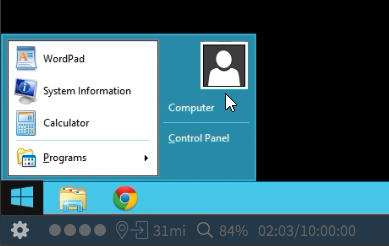
To uninstall applications, launch your Sandbox, click on the Windows Start button at the bottom left corner, and select “Computer” from the menu as shown below:
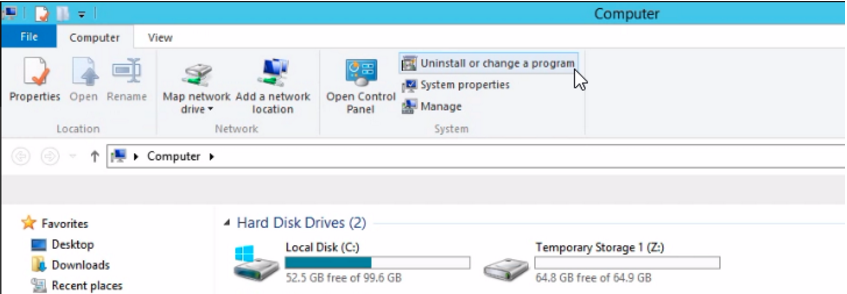
Once in the “Computer” window, find and click the “Uninstall or change a program” button at the top center of the window, per the screenshot below. Then simply select the application you wish to uninstall from the list and follow the prompts to uninstall.
Publish your Sandbox to ensure the application binaries are no longer in the production VMs.
dangerIf your users are using an Application Launchpad and you did not delete the onboarded application in the Sandbox page before publishing, your users will see an error when they try to access the application from their Application Launchpad.